• Leading coffee brands
  • Highest quality coffee
  • Perfect fit solutions

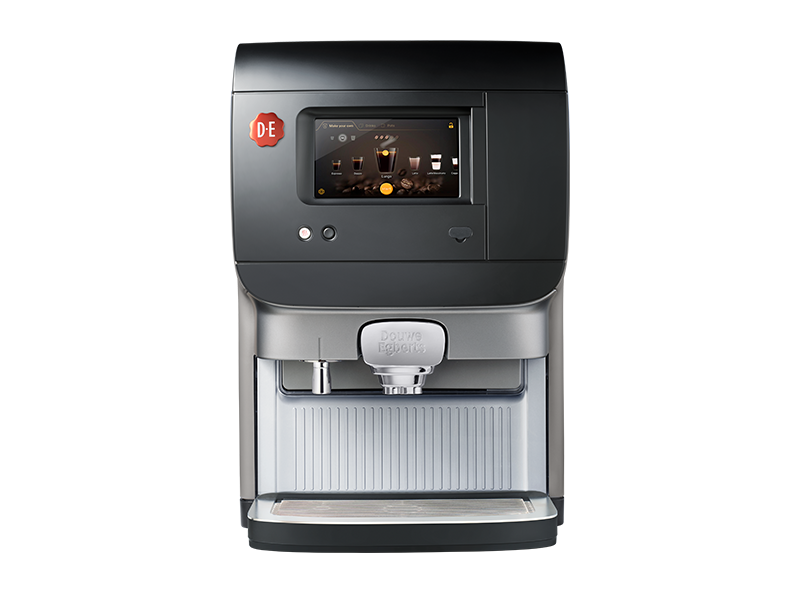
Cafitesse Excellence Compact Touch

Weekly cleaning

Keep your machine in top condition by performing an extensive cleaning weekly in addition to the daily cleaning; for the milk variant, do this twice a week.

This takes about 13 minutes to resolve.

Items needed

  • Cleaning brush
  • Damp cloth and dry cloth
  • Sink
  • Tray
altText

Continue on mobile?

Scan the QR code

1
19

Add the cleaning tablets to hot water
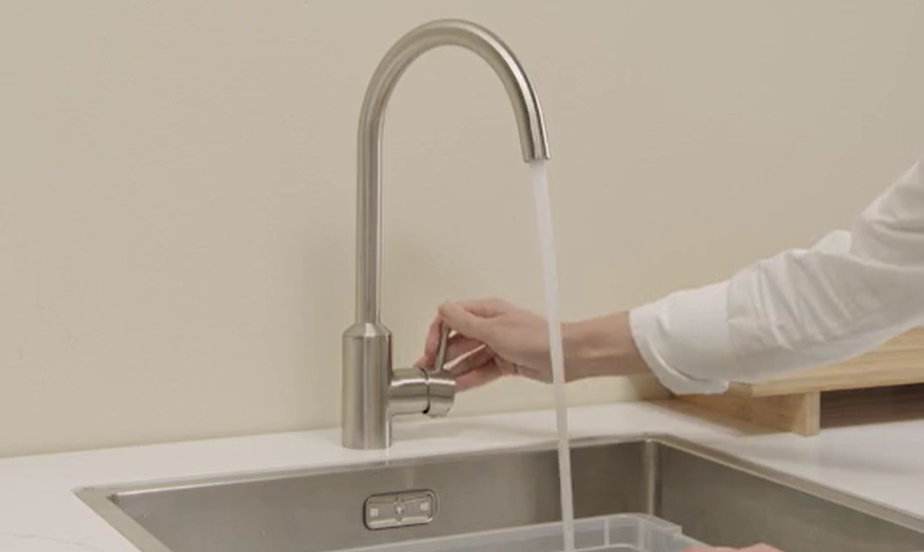
Take your Suma Café Tabs and fill a container with hot water. Add one cleaning tablet per 2 liters of water.If you use another cleaning product, follow the instructions on its packaging.
Image
Image Instruction
Click to view

Activate the cleaning program
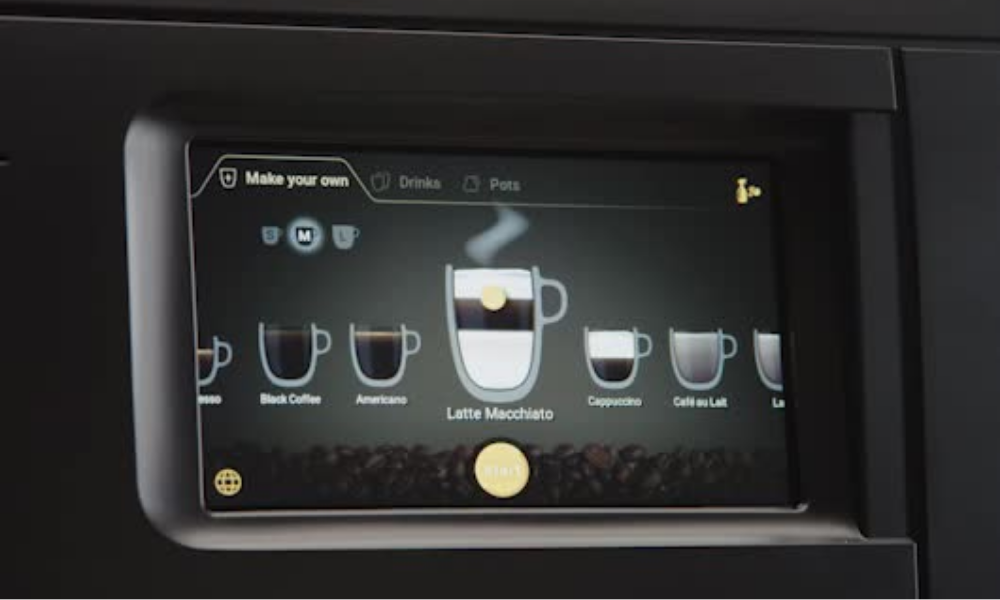
Press the ‘cleaning required’ icon on the touchscreen in the top right corner.
Image
Image Instruction
Click to view

Check the expiration date of the ingredients
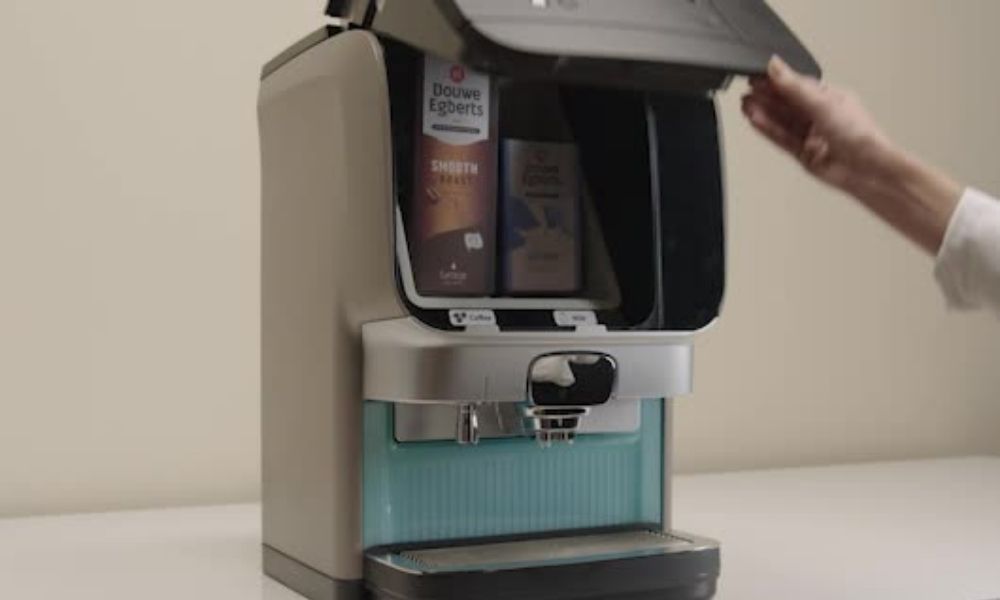
Lift and open the door.Remove both ingredient packs.Check their expiration date (printed) and opening date (written).
Image
Image Instruction
Click to view

Clean the inside
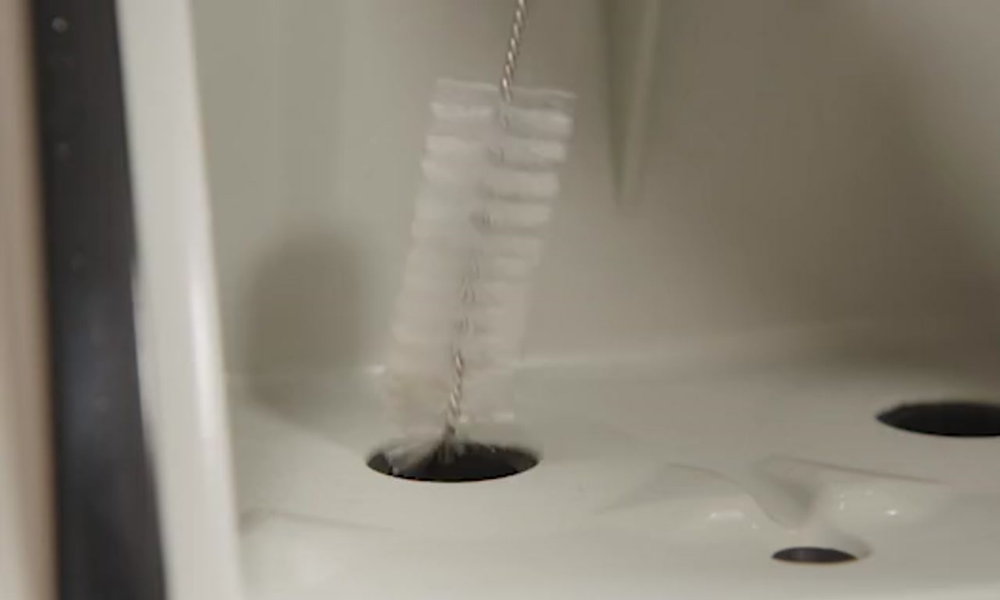
Clean the ingredient outlet openings and the refrigerator drain holes with a cleaning brush.Clean the inside of the refrigerator with a damp cloth.
Image
Image Instruction
Click to view

Close the door and press ‘ENTER’
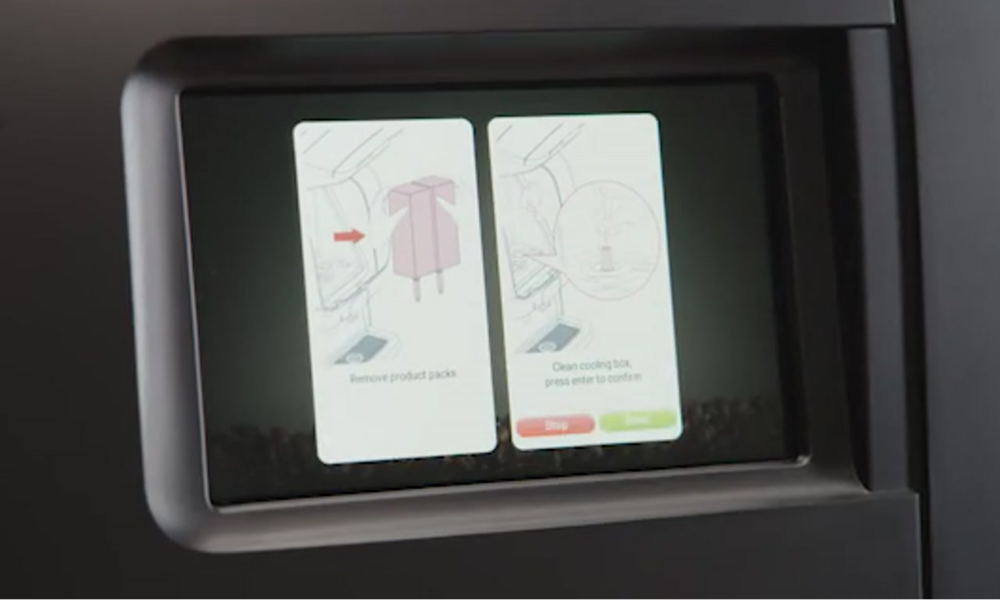
Close the door. Confirm ‘clean refrigerator’ on the touchscreen by pressing ‘ENTER.’Follow the instructions to remove and clean the coffee mixing tray.Open the door.
Image
Image Instruction
Click to view

Remove the product outlet and the mixing bowl
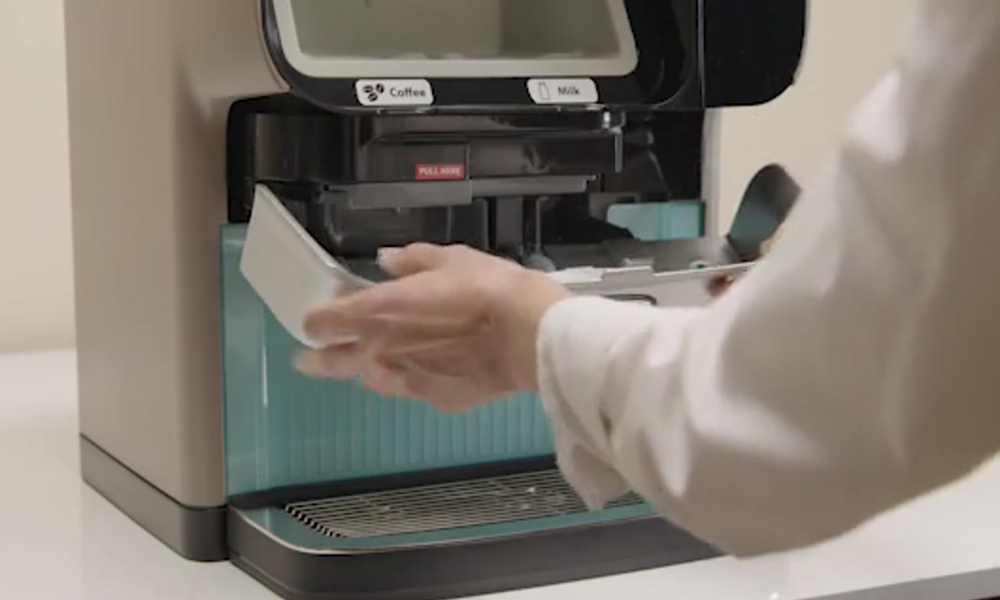
Lower the mixing table and pull the product outlet outward to remove it from its holder.Under the sticker ‘PULL HERE,’ pull the mixing bowl towards you. Pull it out of the machine.
Image
Image Instruction
Click to view

Remove the parts
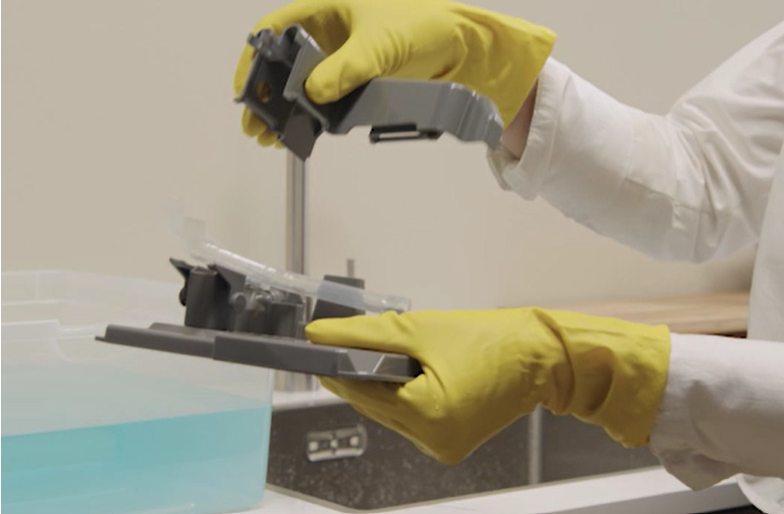
Turn the mixing tray upside down and pull the sealing strip completely out of the tray.Turn the mixing bowl over and remove the hose cover by pulling both sides loose.Lift the rear panel of the drawer and remove the hoses from the mixing tray.
Image
Image Instruction
Click to view

Soak for at least 20 minutes
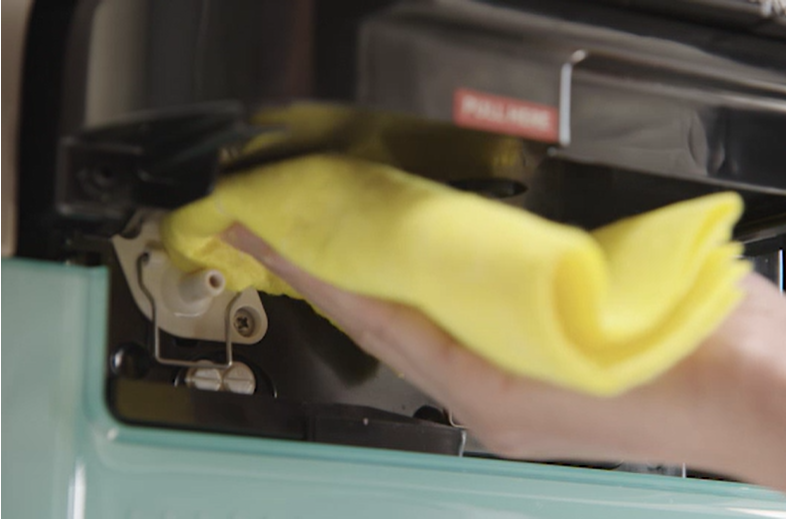
Immerse the coffee mixing tray and the beverage hoses in the disinfecting solution.Let them soak for at least 20 minutes, but no longer than 12 hours.
Image
Image Instruction
Click to view

Wipe with a damp cloth
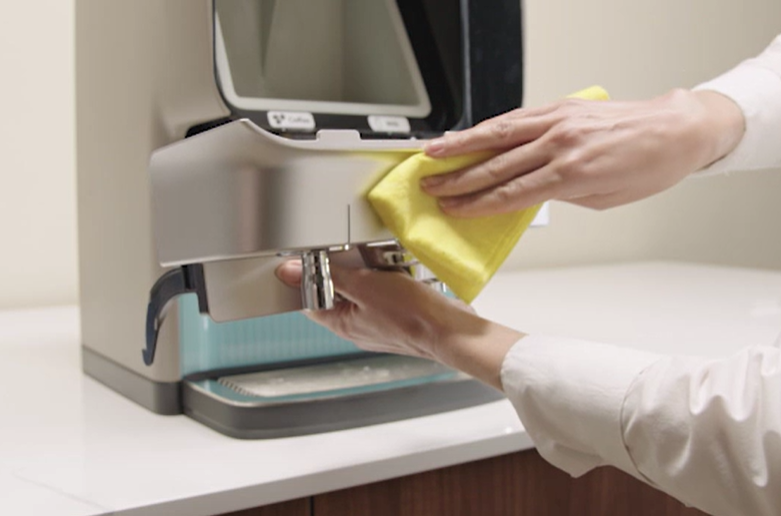
Clean the bottom of the refrigerator and the connections on the mixing bowl with a damp cloth.Remove the mixing table from the hinges and clean both sides with a brush or a damp cloth.Reattach the mixing table to the hinges.
Image
Image Instruction
Click to view

Wash all parts, rinse, and let them dry
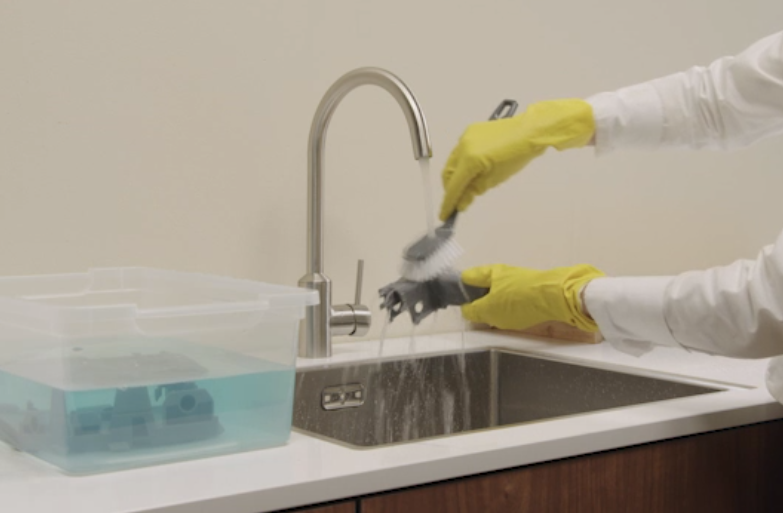
Finally, wash all parts with a brush and rinse them with clean water.Let the parts dry completely, or dry them all with a clean tea towel.
Image
Image Instruction
Click to view

Put the parts back
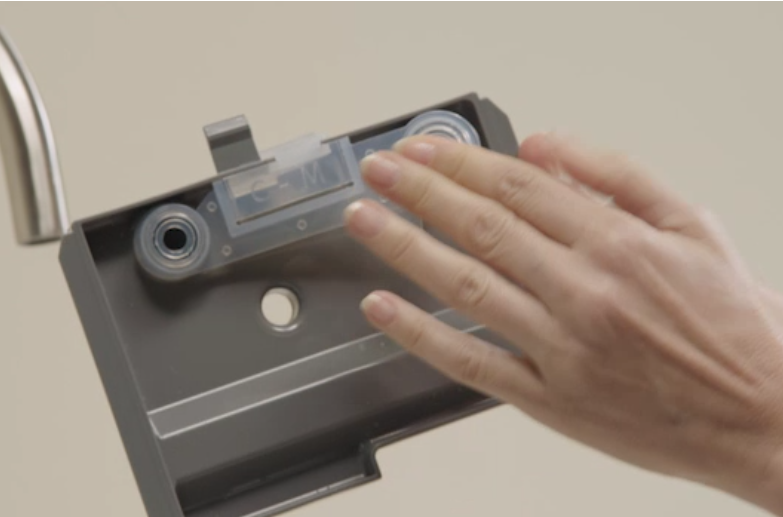
Place the outlet hoses back into the mixing tray.Place the cover onto the hoses. Push the cover all the way down until it clicks into place.Turn the mixing bowl over and insert the sealing strip into the openings.
Image
Image Instruction
Click to view

Put the mixing bowl and mixing table back
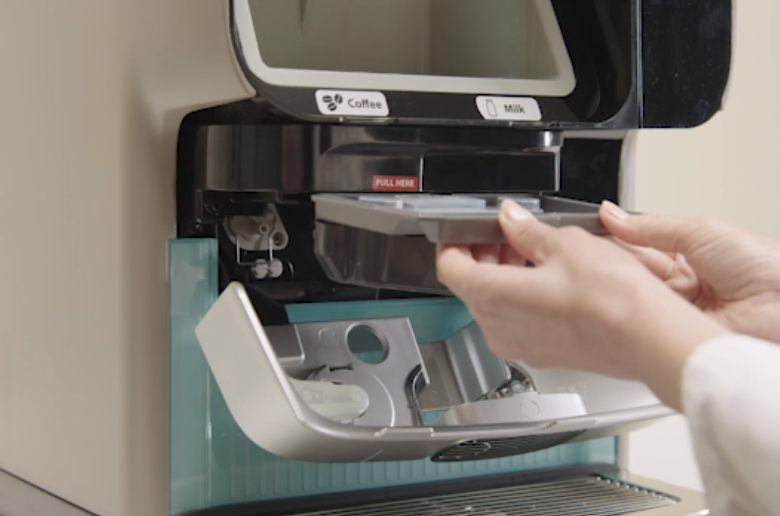
Slide the mixing bowl back into the rails beneath the refrigerator. Push it all the way back until it clicks.Lift the mixing table until it clicks into place.
Image
Image Instruction
Click to view

Grab a thawed liquid pack
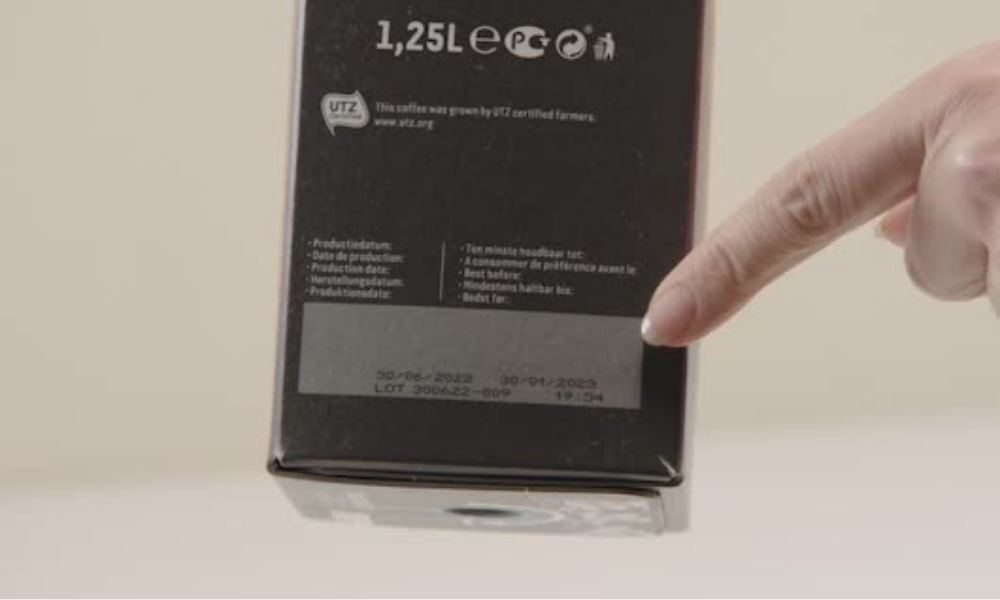
Grab a thawed liquid pack and read the instructions on the packaging.Shake the pack at least 10 times.Remove the plastic packaging and write the current date on the pack.
Image
Image Instruction
Click to view

Open the dispensing tube
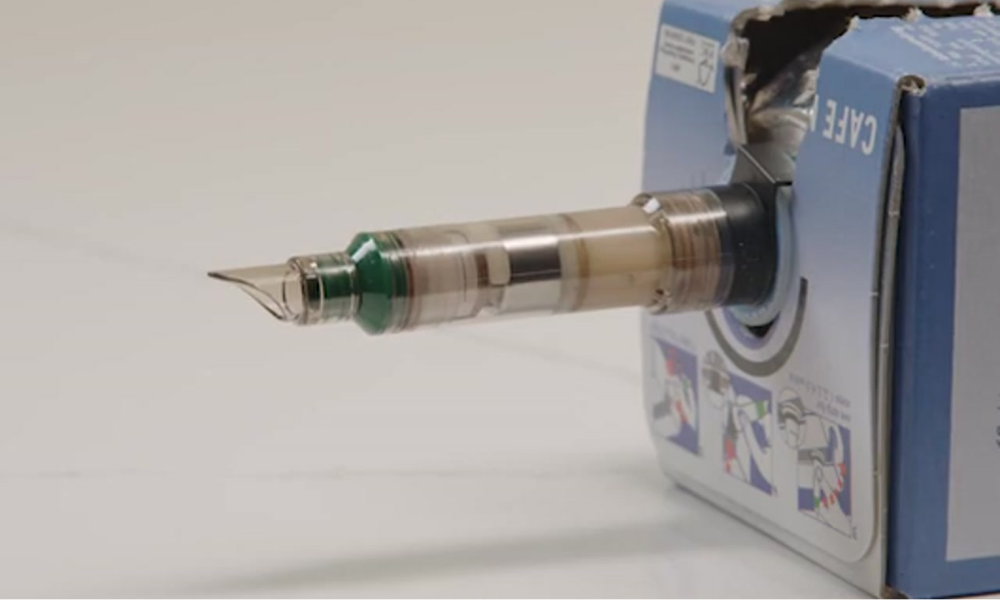
Tear open the opening of the dispensing tube and unfold the dispensing tube.Check that the dosing hose is placed straight and that the colored ring on the hose covers the corresponding circle on the packaging.Open the dispensing tube by turning it 90 degrees clockwise; check that the tube begins to fill itself.
Image
Image Instruction
Click to view

Place the ingredients back
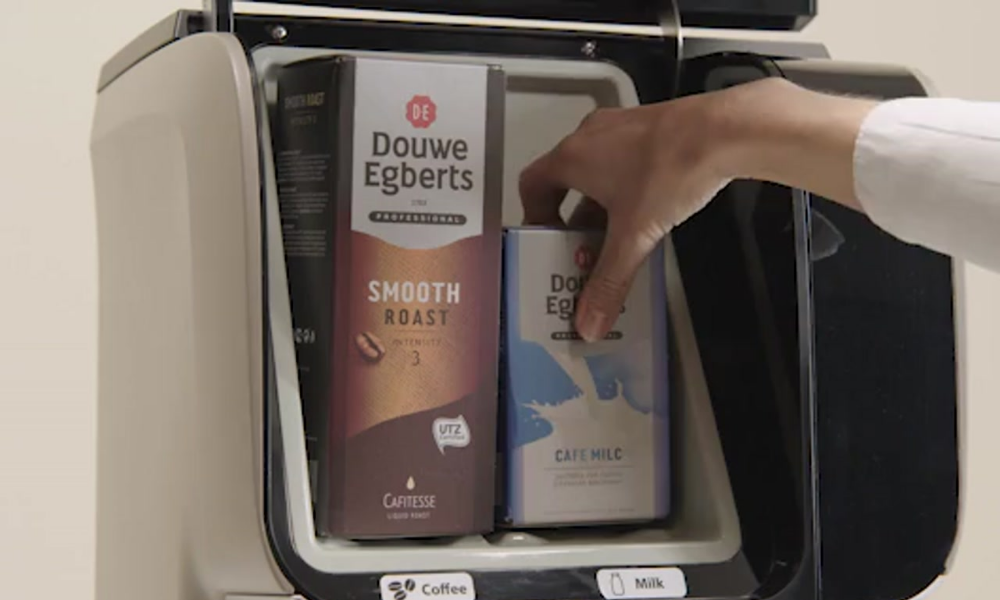
Place the ingredient packs in the refrigerator.Close the door.
Image
Image Instruction
Click to view

Activate the rinsing program
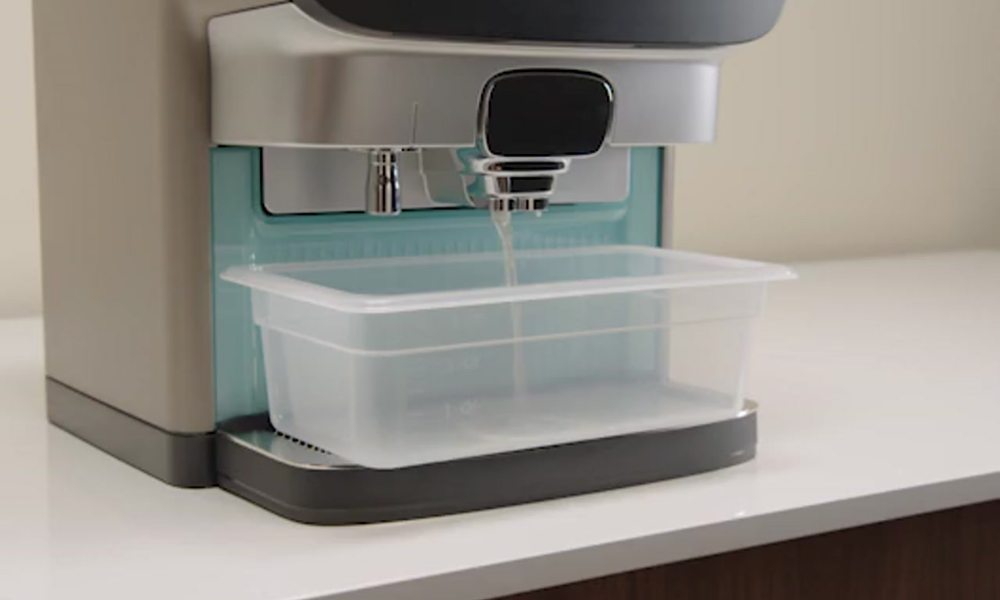
Place a 3‑liter container on the drip tray.WARNING!Hot water flows into the rinse tray. When you are done, press ‘ENTER’ to continue.Carefully remove the rinse tray and empty it.
Image
Image Instruction
Click to view

Clean the drip tray
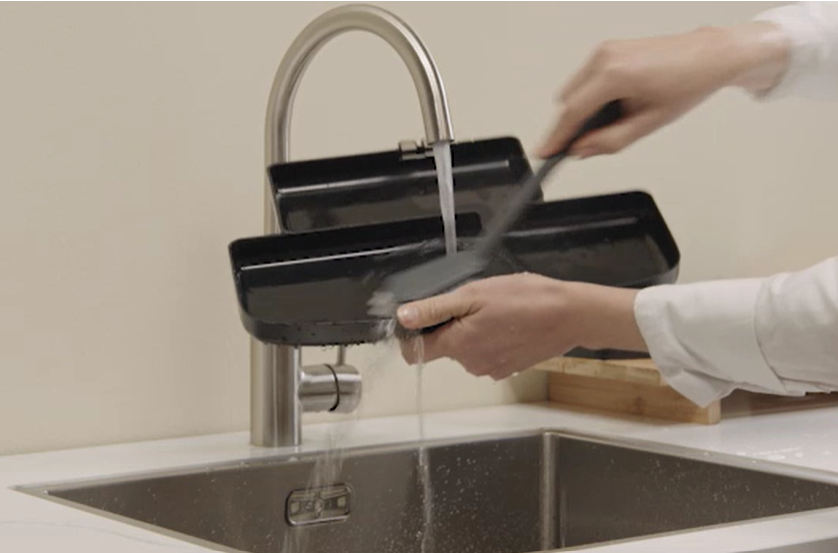
Disassemble the drip tray. Clean the parts with clean water and a brush.Reassemble the drip tray and place it back.
Image
Image Instruction
Click to view

Wipe with a damp cloth
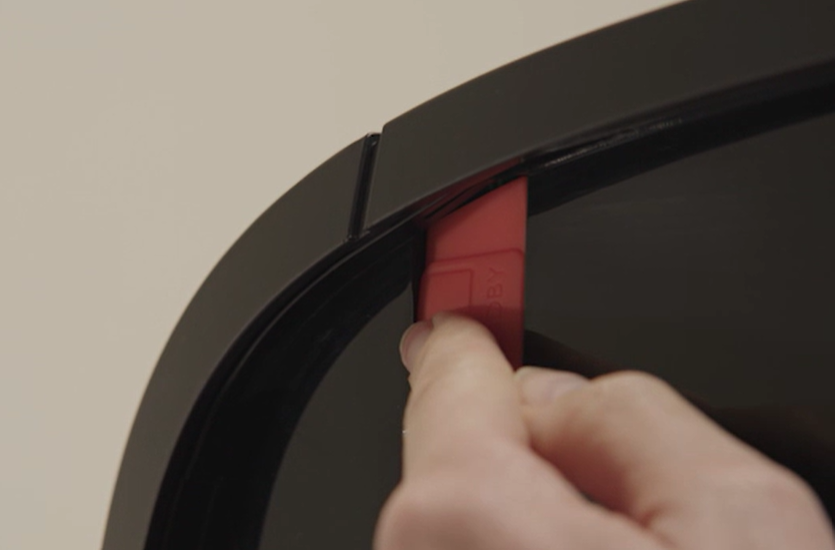
Open the door and press the standby button to switch off the touchscreen. Close the door.Clean the exterior with a damp cloth. Never spray directly onto the machine.Open the door and press the standby button again to switch the touchscreen on. Close the door.
Image
Image Instruction
Click to view

Done

You have completed the weekly cleaning of your machine. Now you can enjoy delicious coffee again!
Image