• Leading coffee brands
  • Highest quality coffee
  • Perfect fit solutions

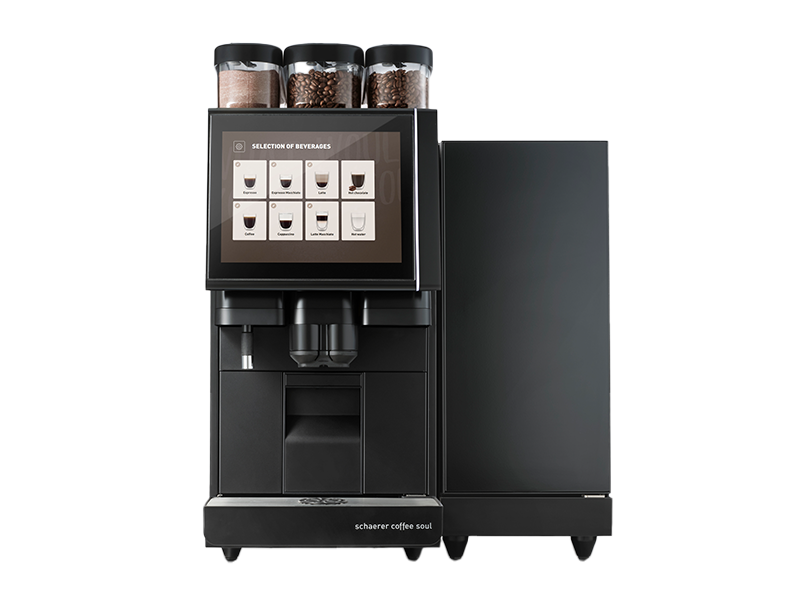
Schaerer Soul

Daily Cleaning

Daily maintenance: This is how your Schaerer Soul stays in top condition

This takes about 15 minutes to resolve.

Warning: this maintenance will make your machine inactive for 15 minutes.

Items needed

  • Cleaning brush
  • Descaler (antikalk)
  • Sink
  • Towel
  • Water/tap
altText

Continue on mobile?

Scan the QR code

1
14

Open Service and Cleaning Menu
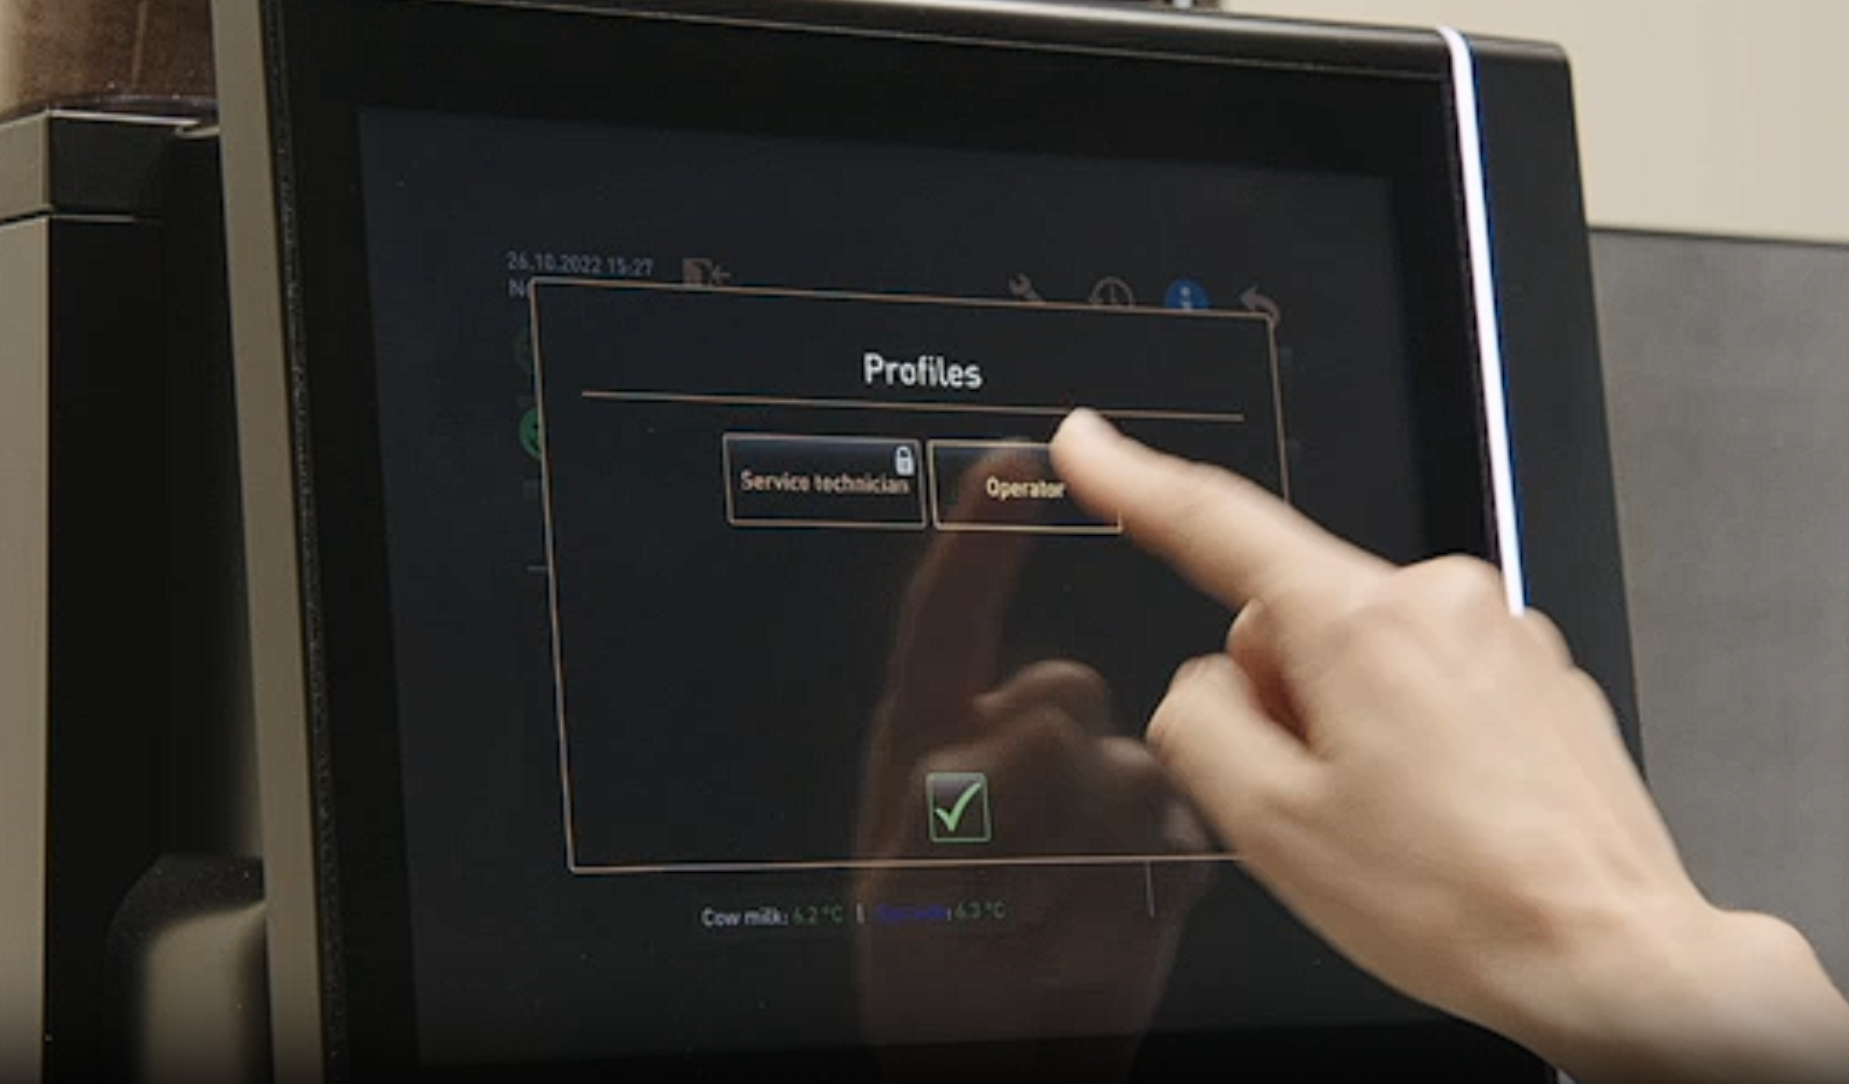
Touch the upper-left corner of the touchscreen to activate the gear icon. Press it to open the service / cleaning / maintenance menu.If necessary, tap the [Operator] button to select an operator profile. Enter the PIN code. Then press [Cleaning] and confirm by pressing the green “play” icon.
Image
Image Instruction
Click to view

Cleaning the Grounds Container and Brewer
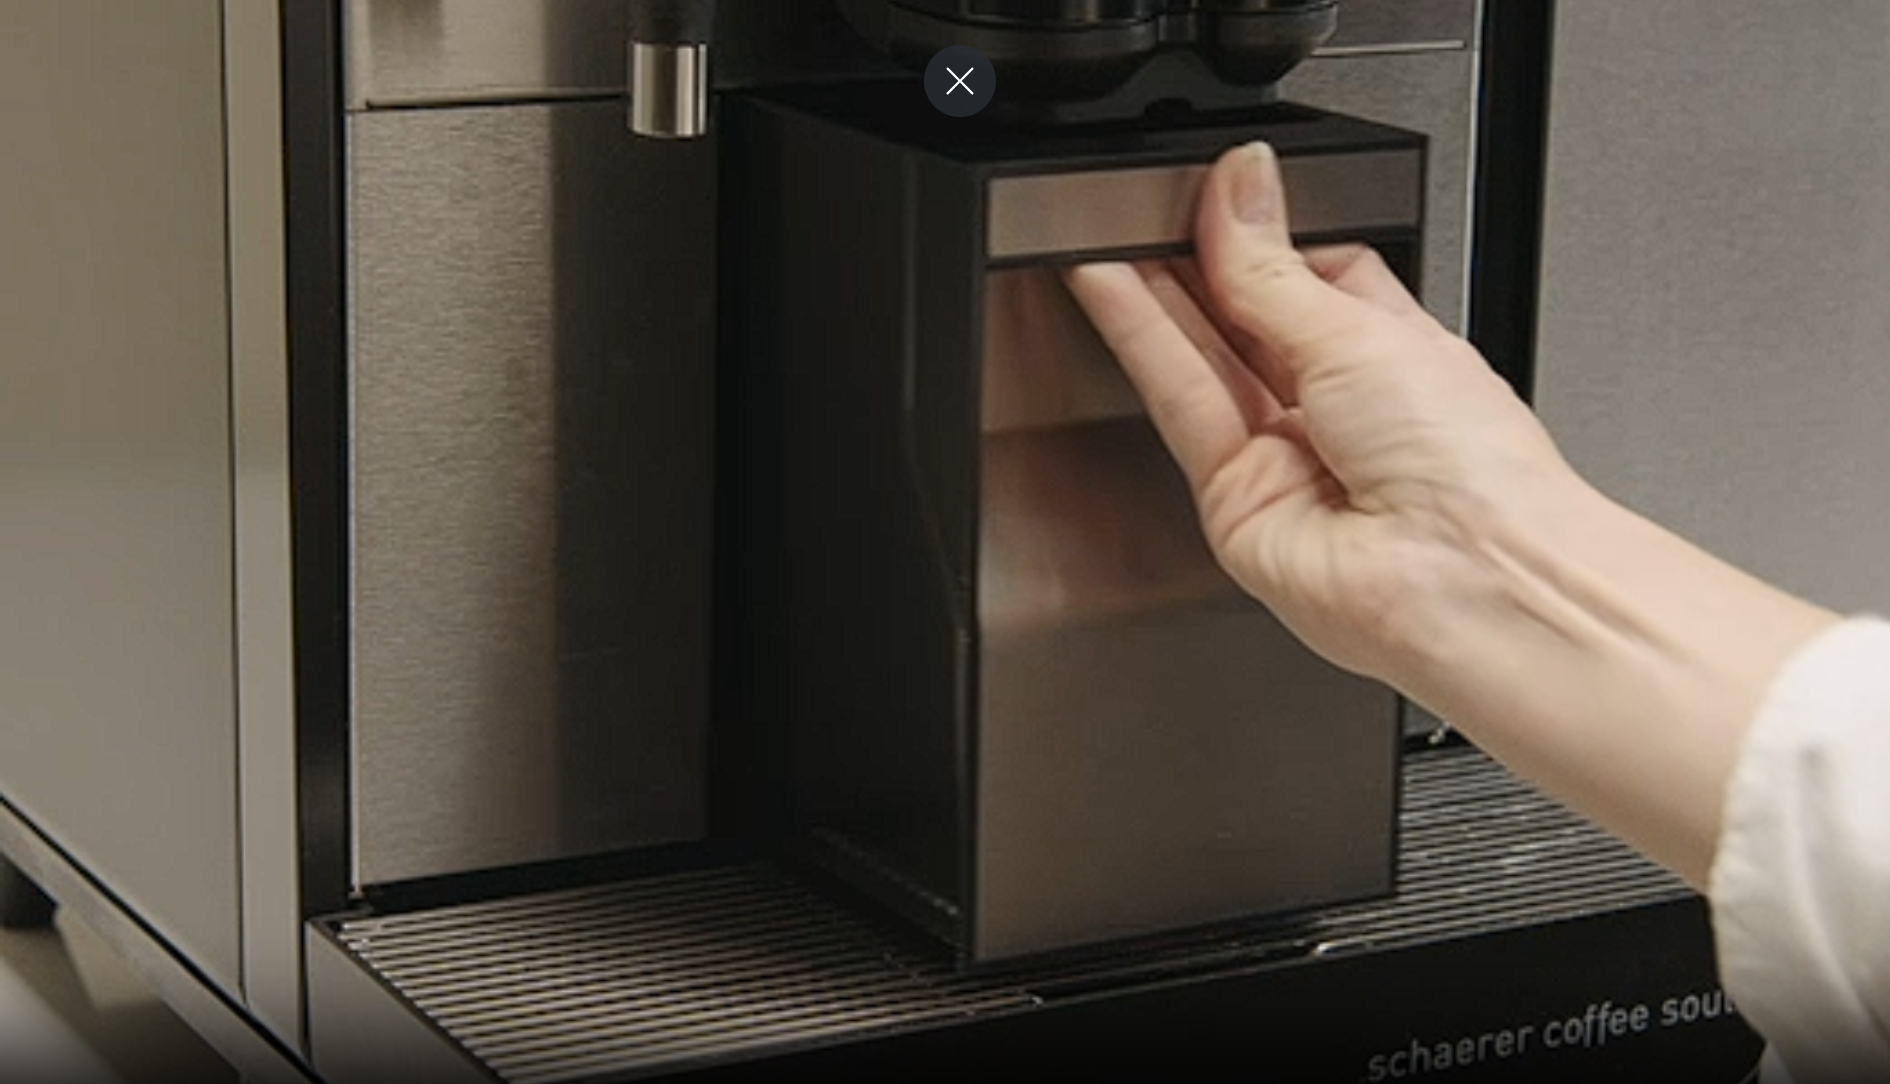
Pull to remove the grounds container from the machine. Empty the grounds container and clean it with water, a household cleaning agent, and a brush.Clean the brewer and the brewer compartment using the special brush designed for the inner compartments.
Image
Image Instruction
Click to view

Remove Outlet Cover and Clean Dispensing Openings
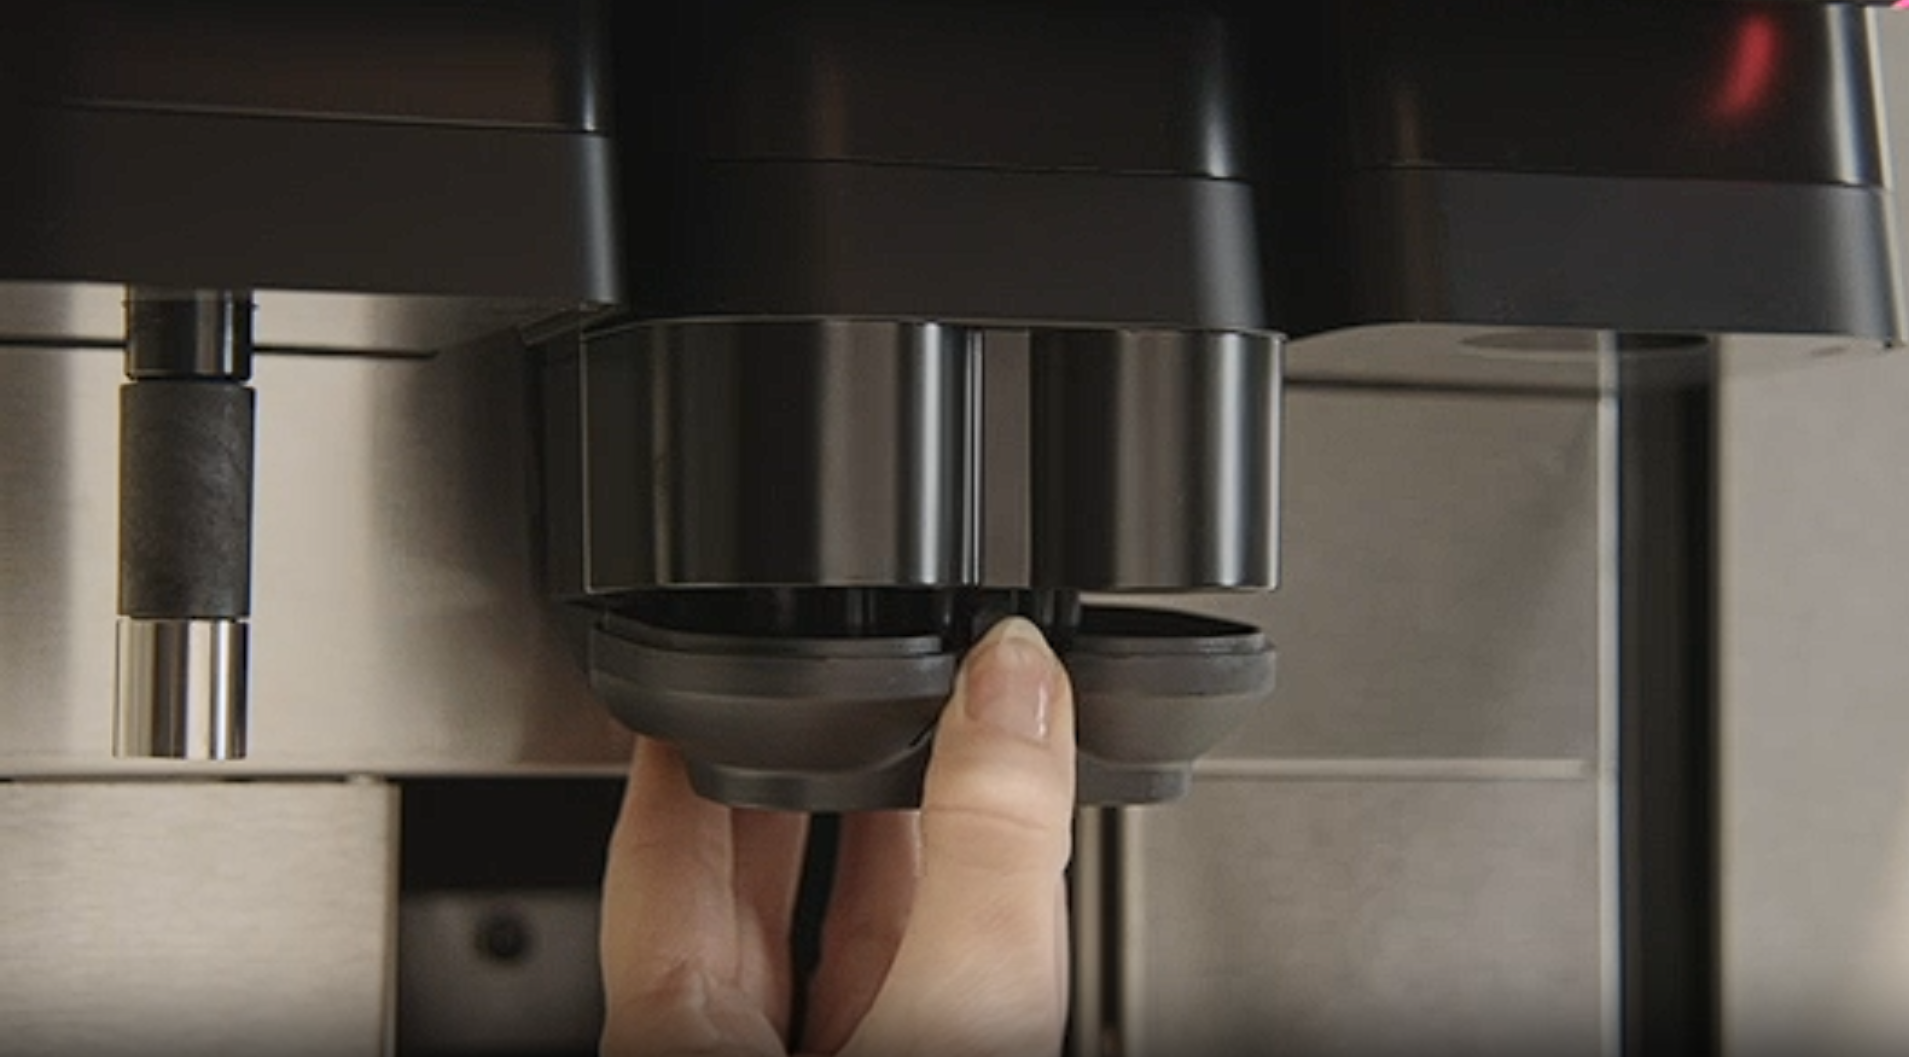
Press the ribbed button on the outlet cover and push the cover downward to release it. Remove the outlet cover.Clean the dispensing openings with a brush.
Image
Image Instruction
Click to view

Replace the Grounds Container and Add a Cleaning Tablet
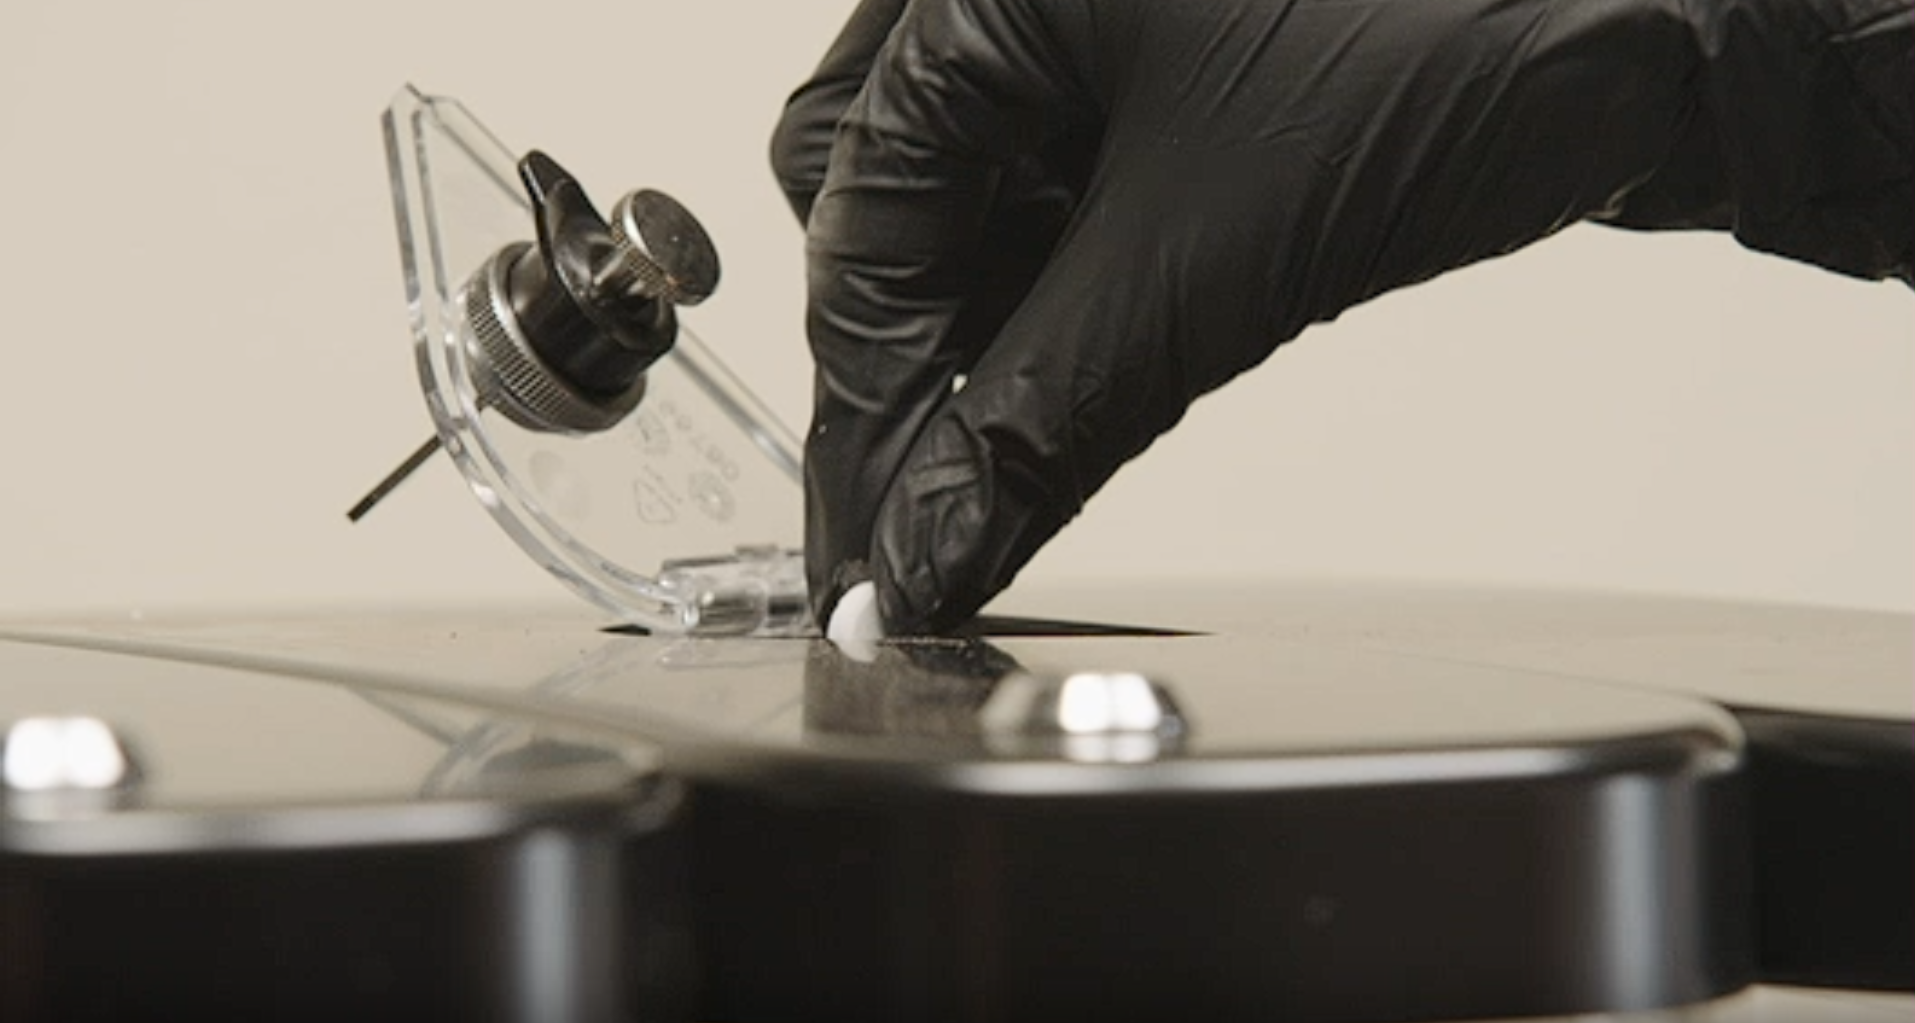
Place the grounds container back into the machine.Insert a coffee system cleaning tablet into the slot above the middle coffee bean container.
Image
Image Instruction
Click to view

Remove Milk Reservoir and Discard Milk
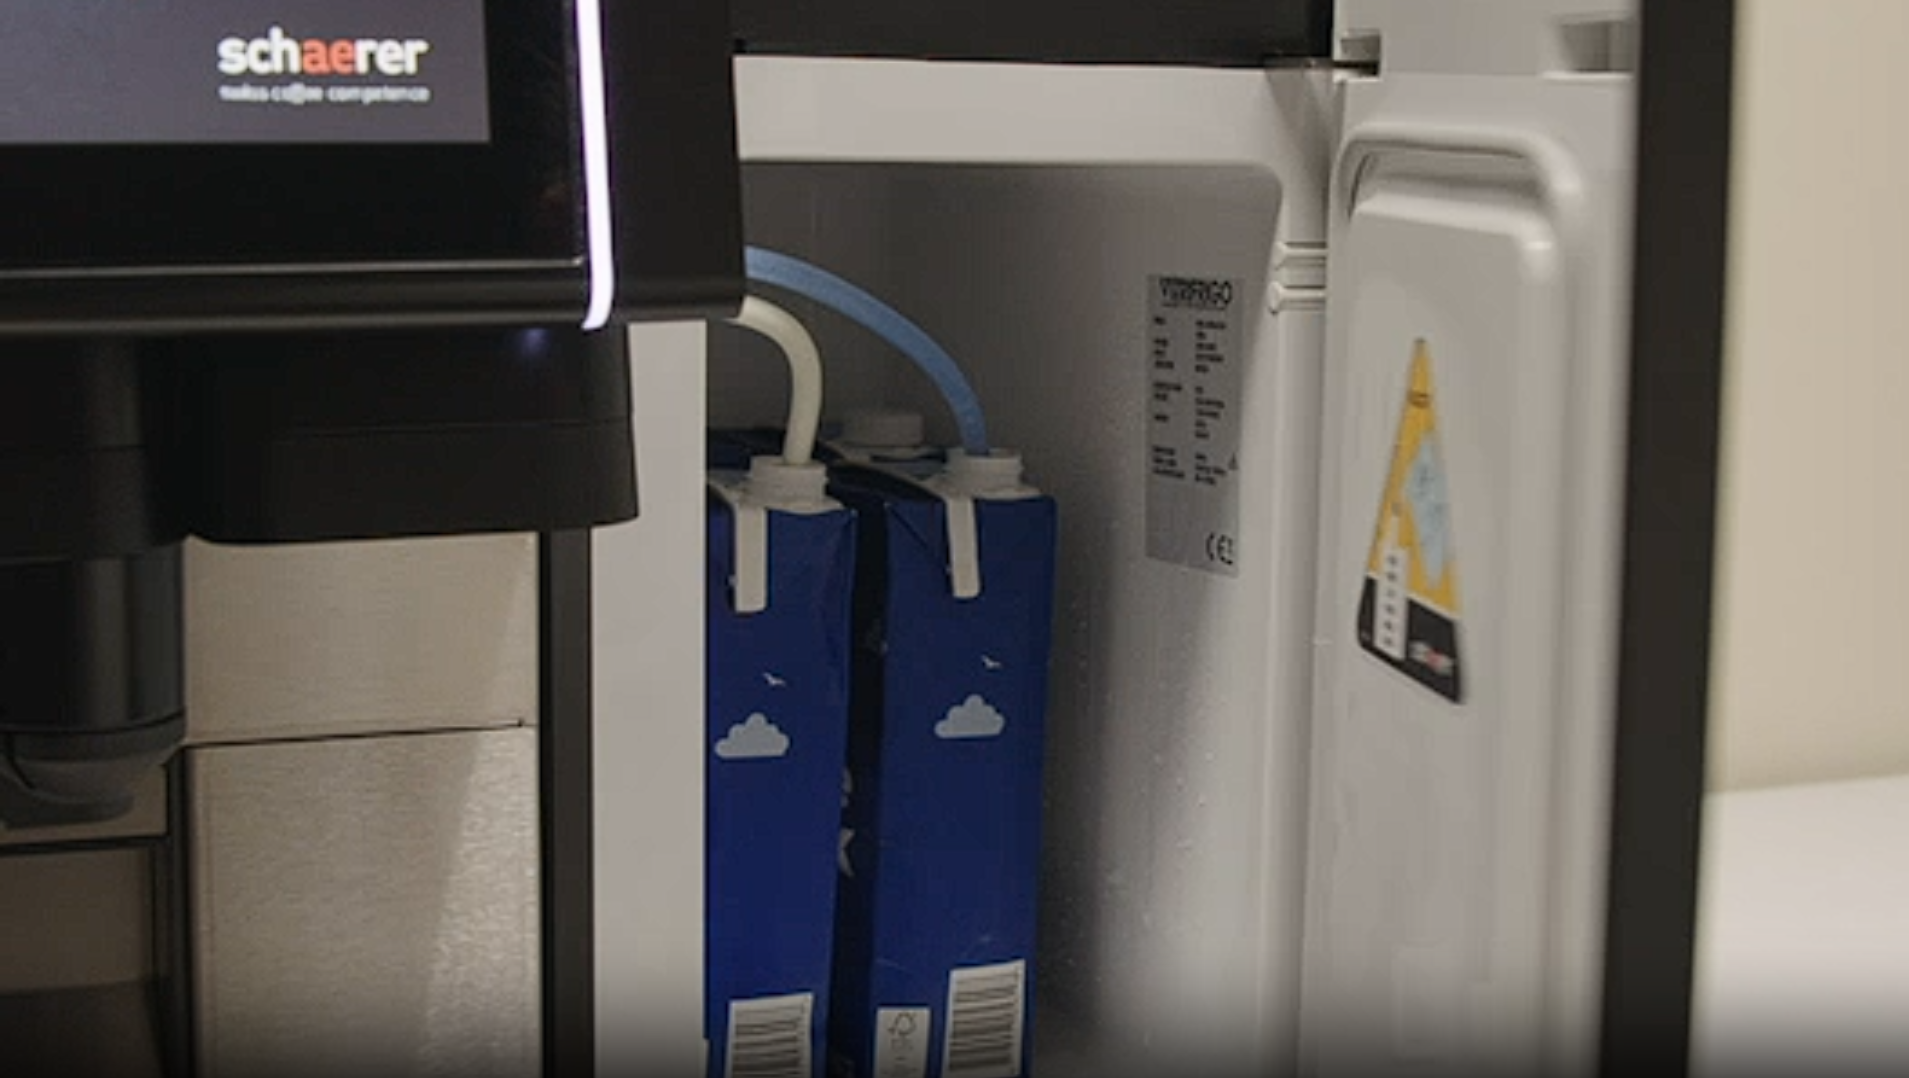
Open the refrigerator and remove the milk reservoir or milk cartons. Discard the remaining milk.
Image
Image Instruction
Click to view

Place Cleaning Tablet and Cleaning Container in Refrigerator
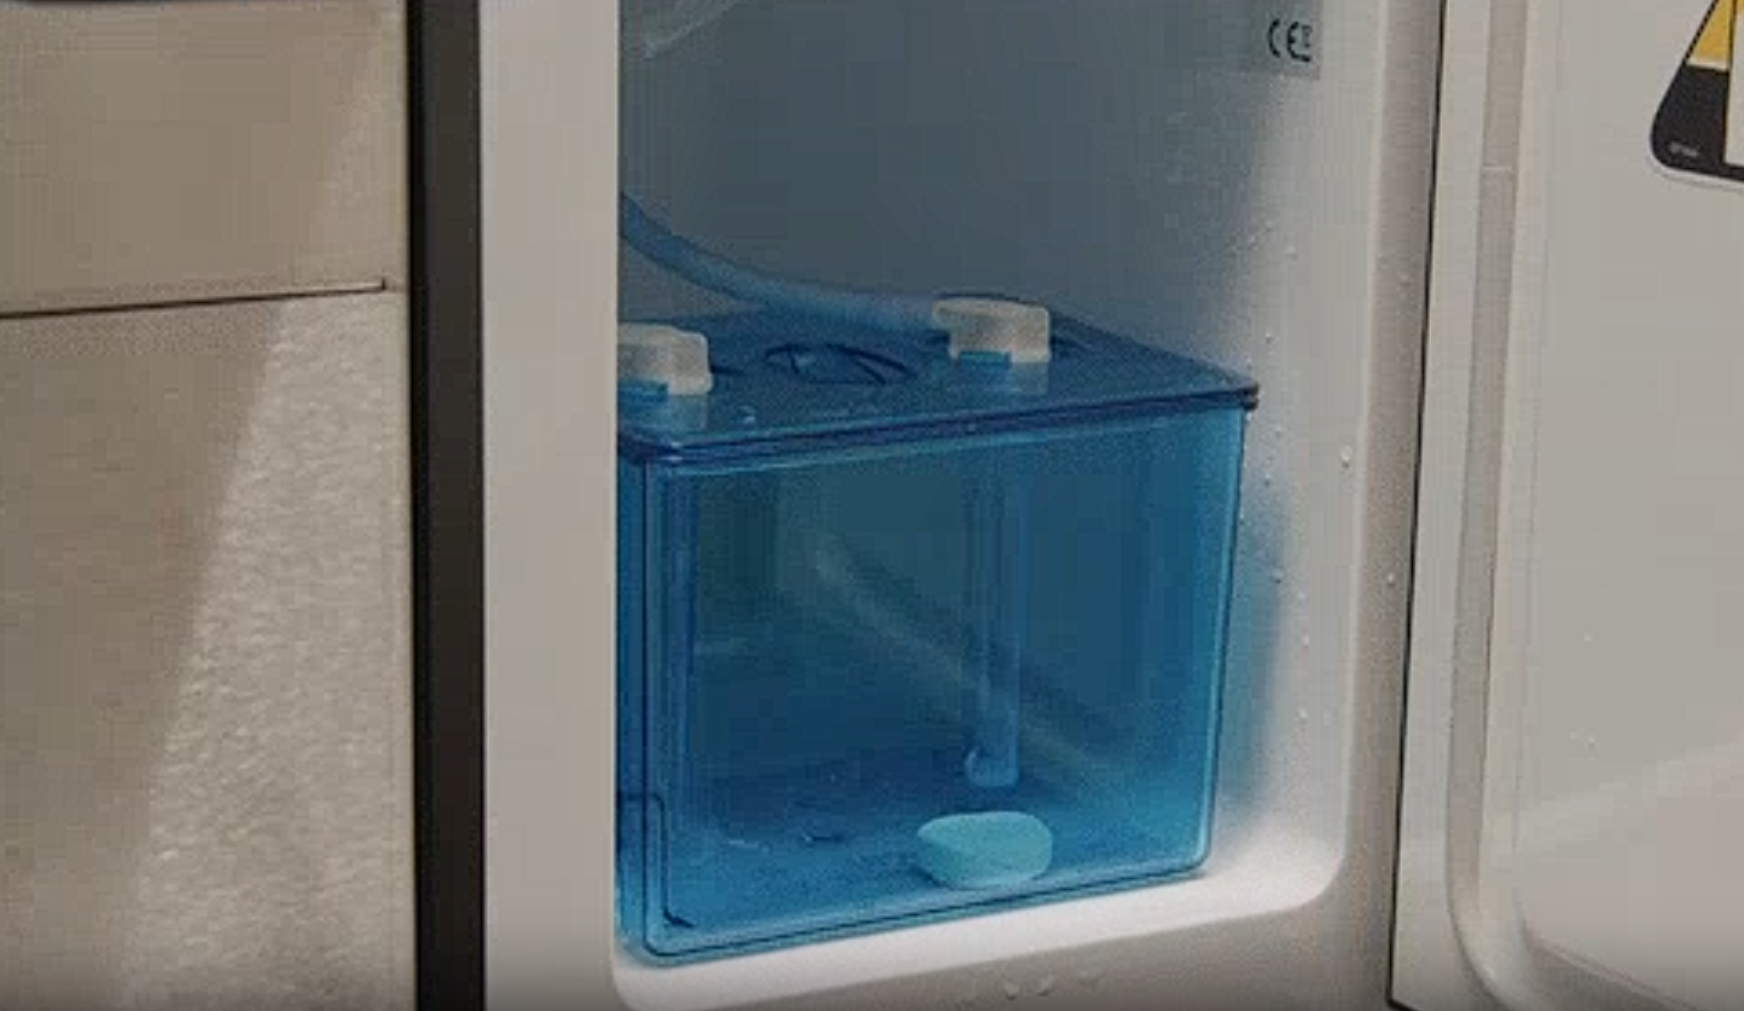
Put an appropriate milkpure circuit cleaning tablet into the cleaning container and close the lid.Place the cleaning container in the refrigerator and attach the milk tube to the lid. Leave the refrigerator door open!
Image
Image Instruction
Click to view

Confirm Cleaning on the Touchscreen
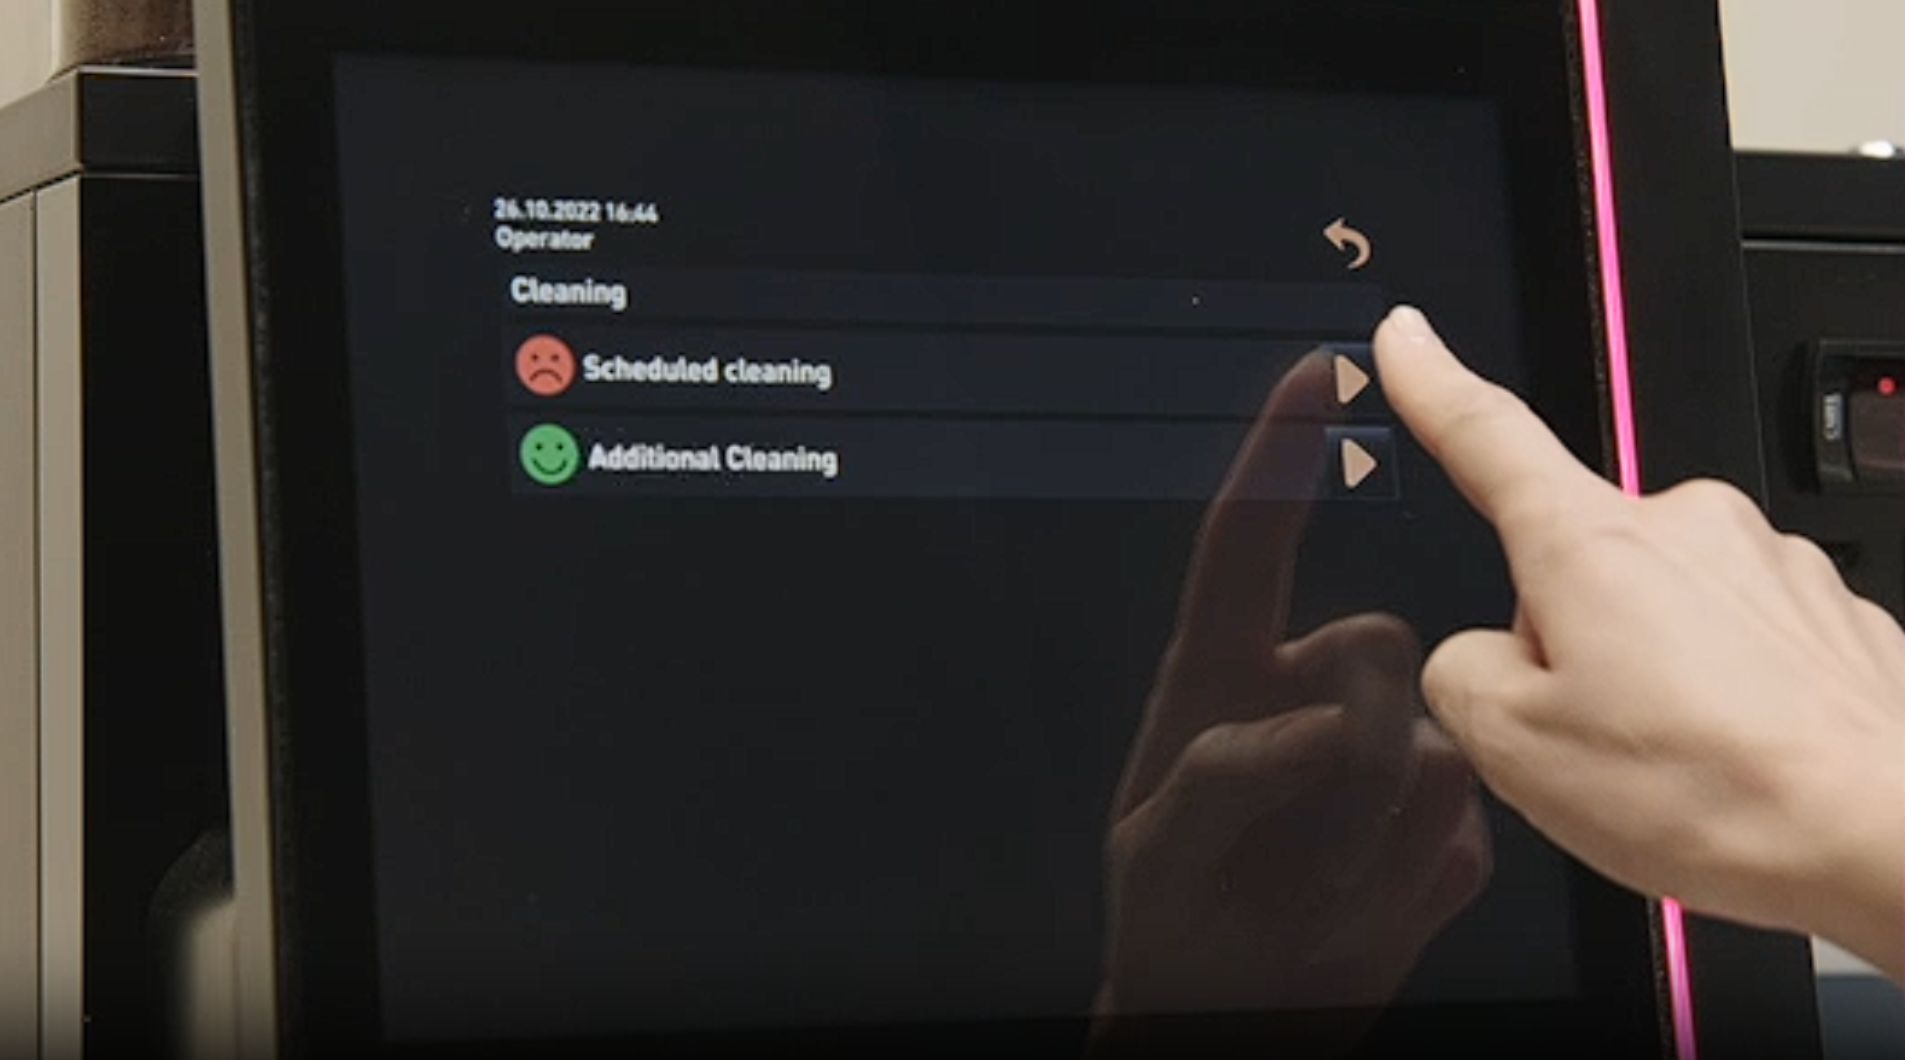
On the touchscreen, confirm that the cleaning container has been placed and the cleaning tablet has been added by touching the green “play” icon.
Image
Image Instruction
Click to view

WARNING!
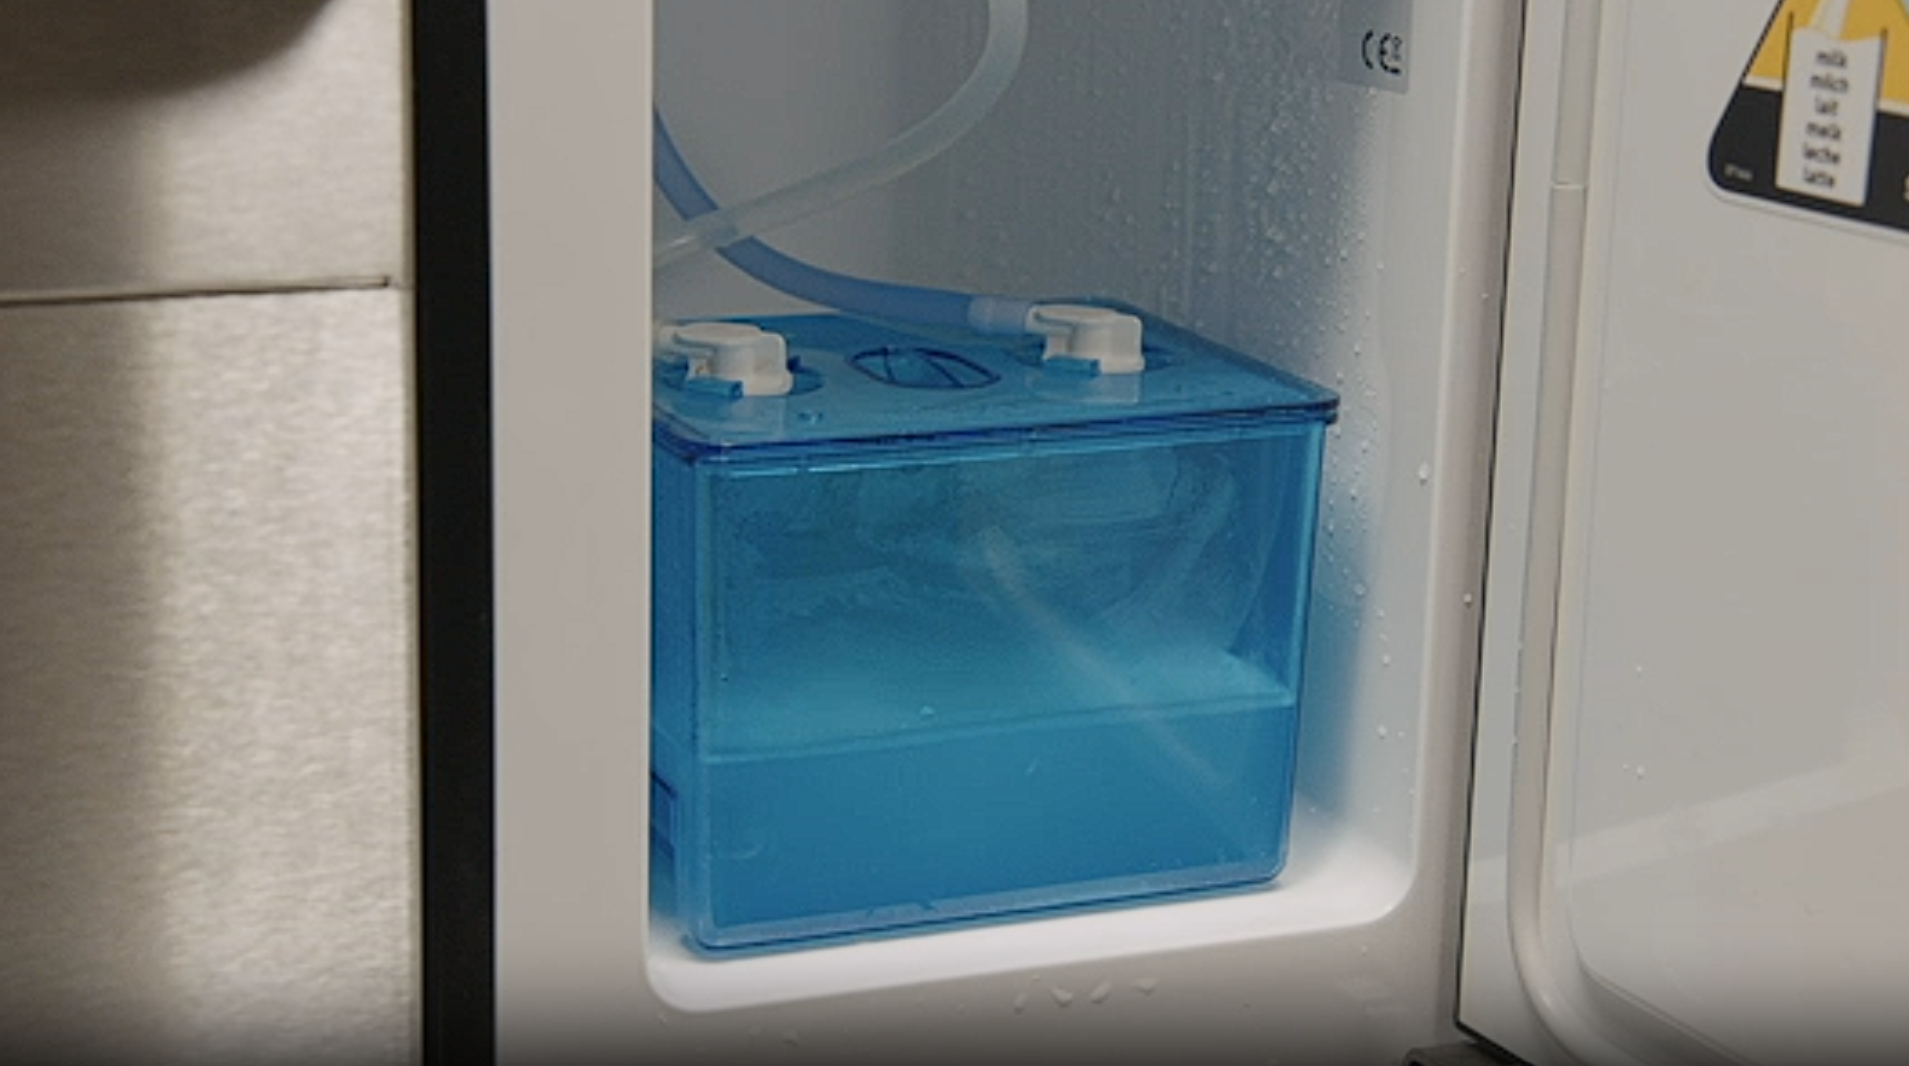
Hot water is flowing through the machine and the tubes.
Image
Image Instruction
Click to view

Fill Ingredient Containers
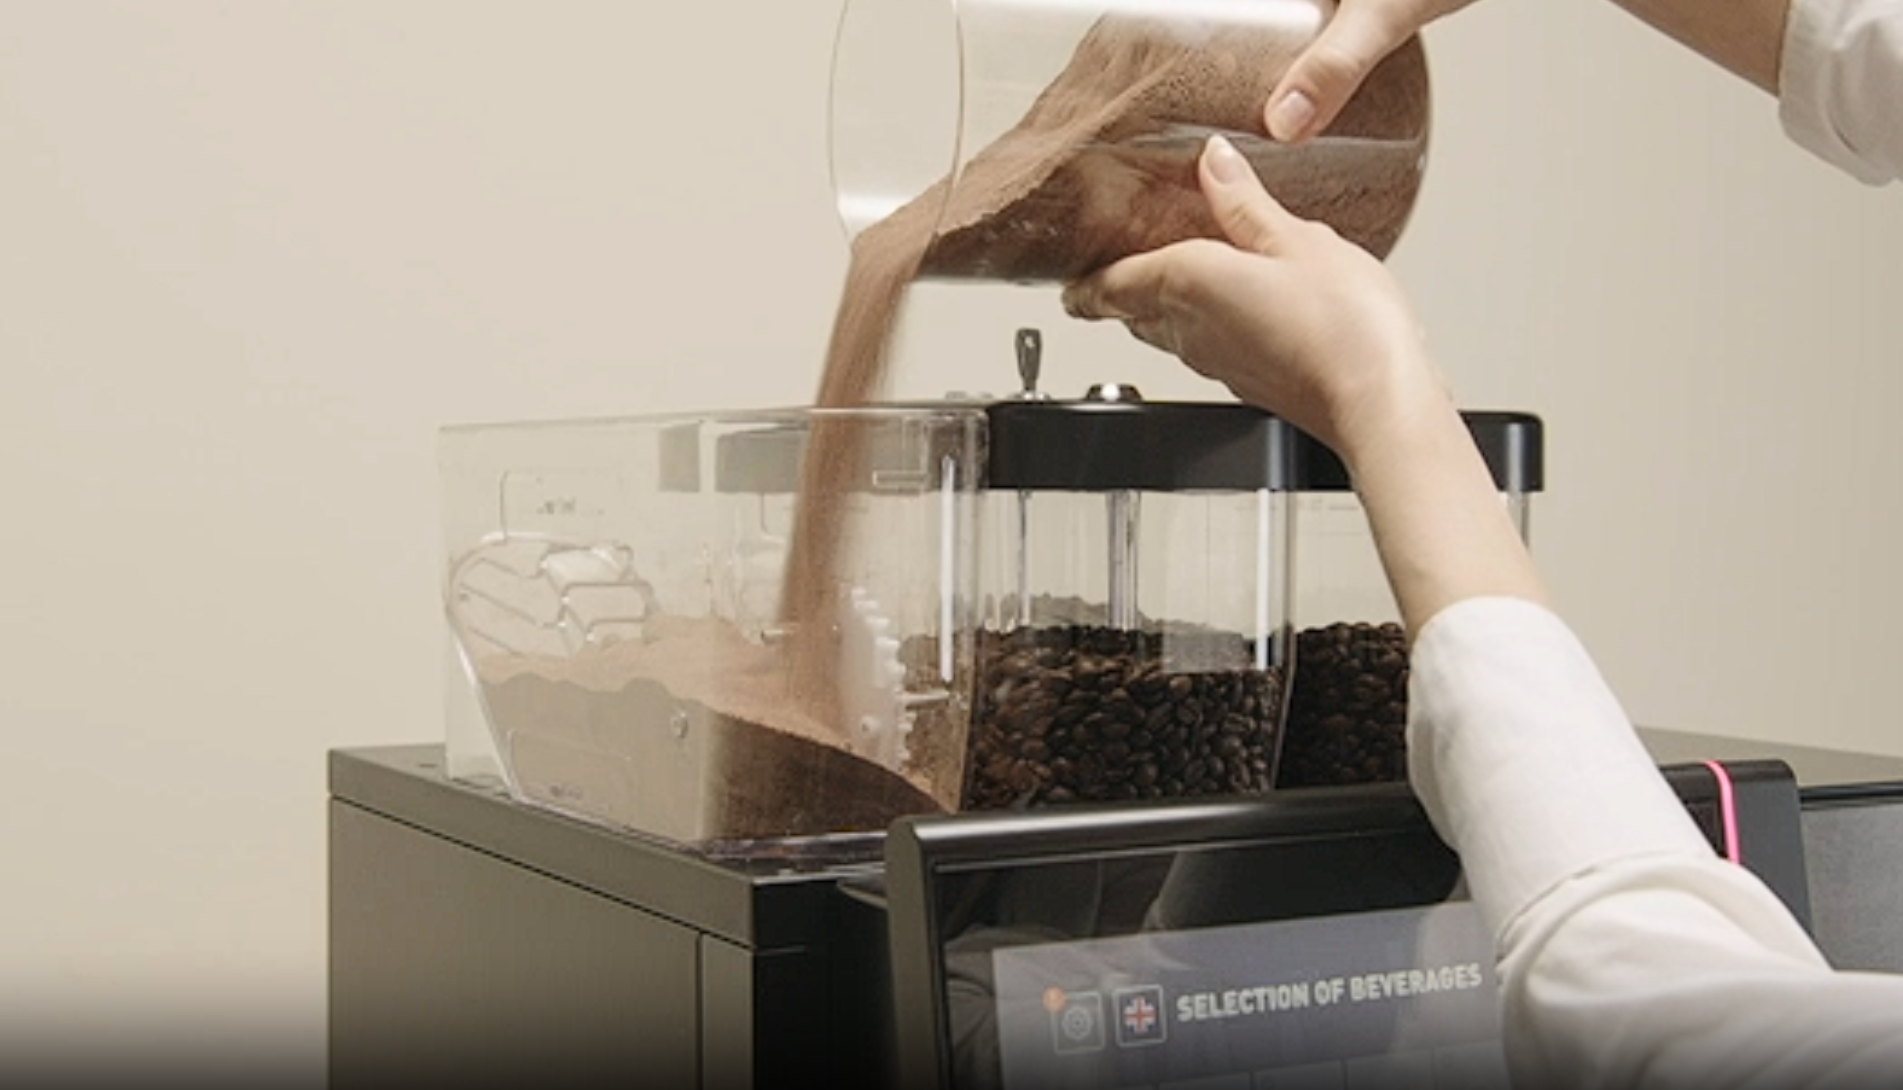
Refill the ingredient containers. Make sure not to fill them beyond the maximum level.
Image
Image Instruction
Click to view

Cleaning the Beverage Outlet Cover and Milk Reservoir
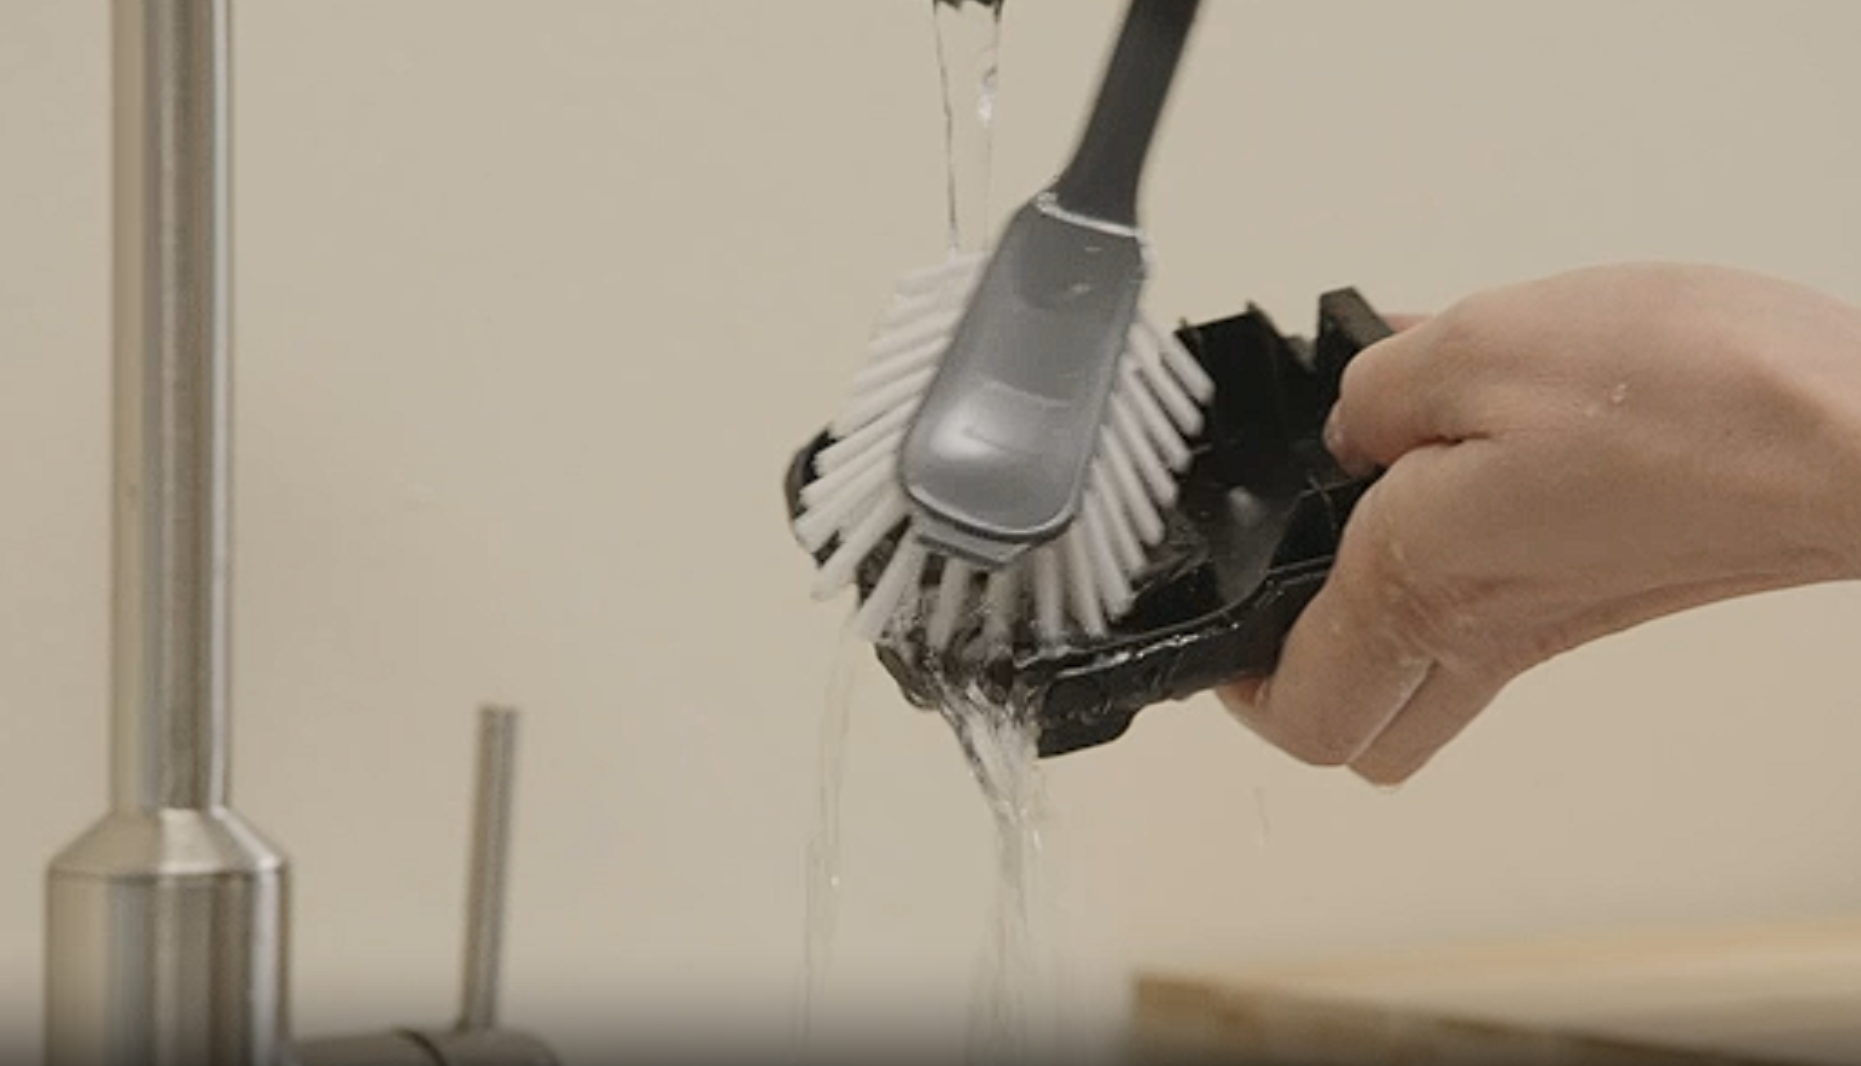
Clean the beverage outlet cover with a brush under running water.Wear cleaning gloves. Clean the milk reservoir and the milk tube with water and dish soap.
Image
Image Instruction
Click to view

Clean the Refrigerator and Replace the Milk Reservoir
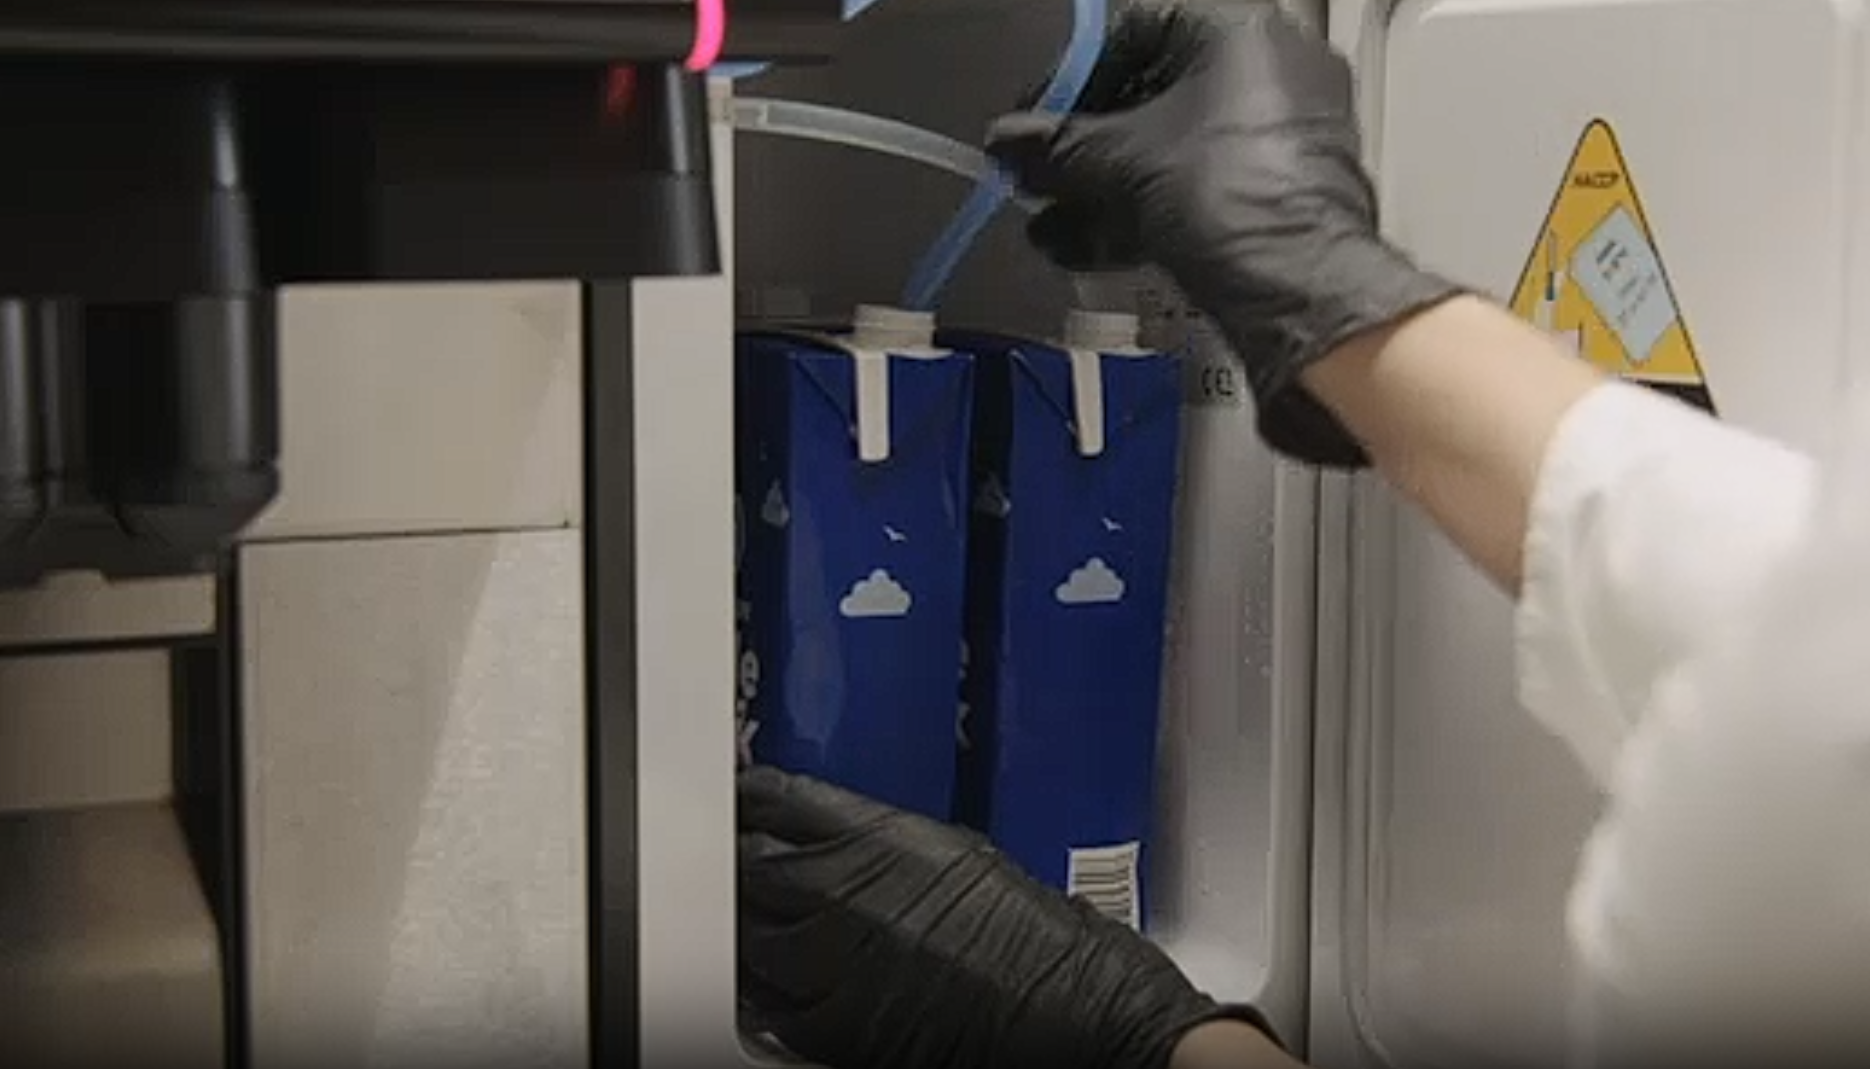
Clean the inside of the refrigerator with a damp cloth.Place the milk reservoir or milk cartons back into the cooling compartment and reconnect the milk tubes. Close the cooling compartment door.
Image
Image Instruction
Click to view

Remove, Clean, and Replace Drip Tray
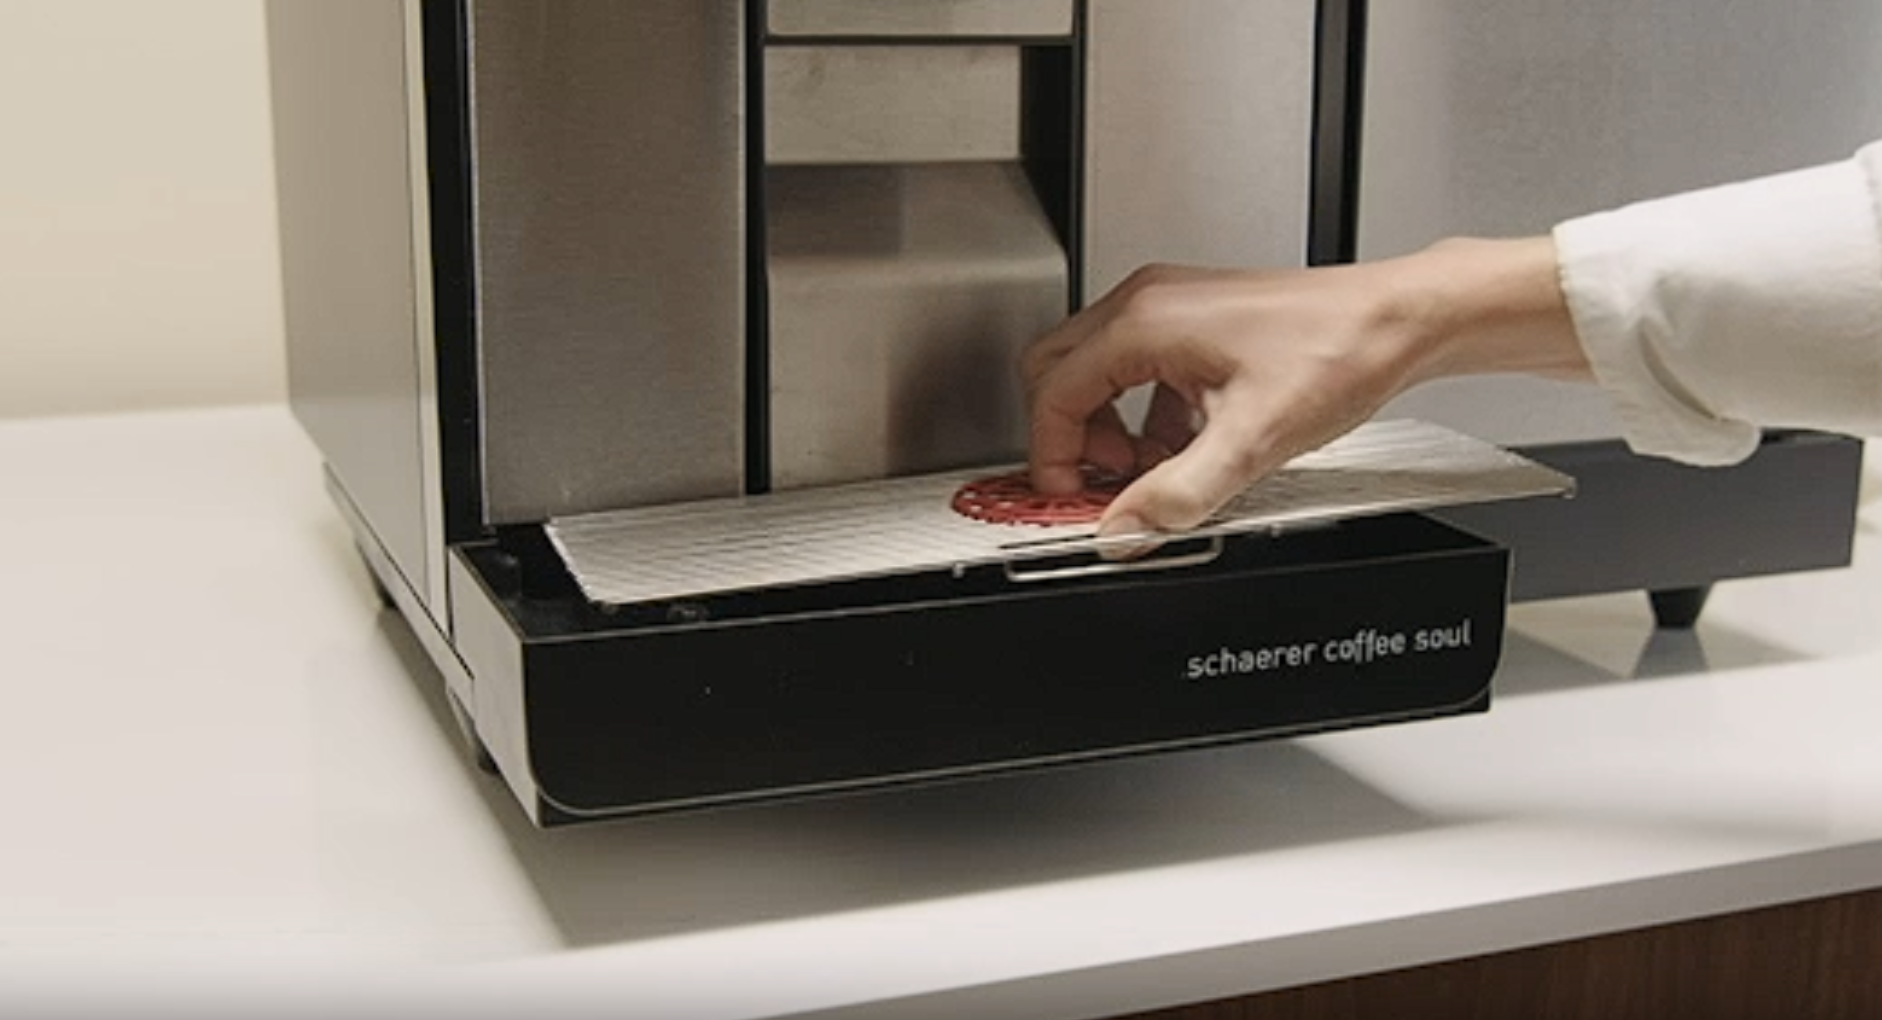
Remove the drip tray, empty it, disassemble it, and clean all parts with a brush under running water.Reassemble the drip tray and place it back into the machine.
Image
Image Instruction
Click to view

Clean and Replace the Drip Tray Under the Refrigerator
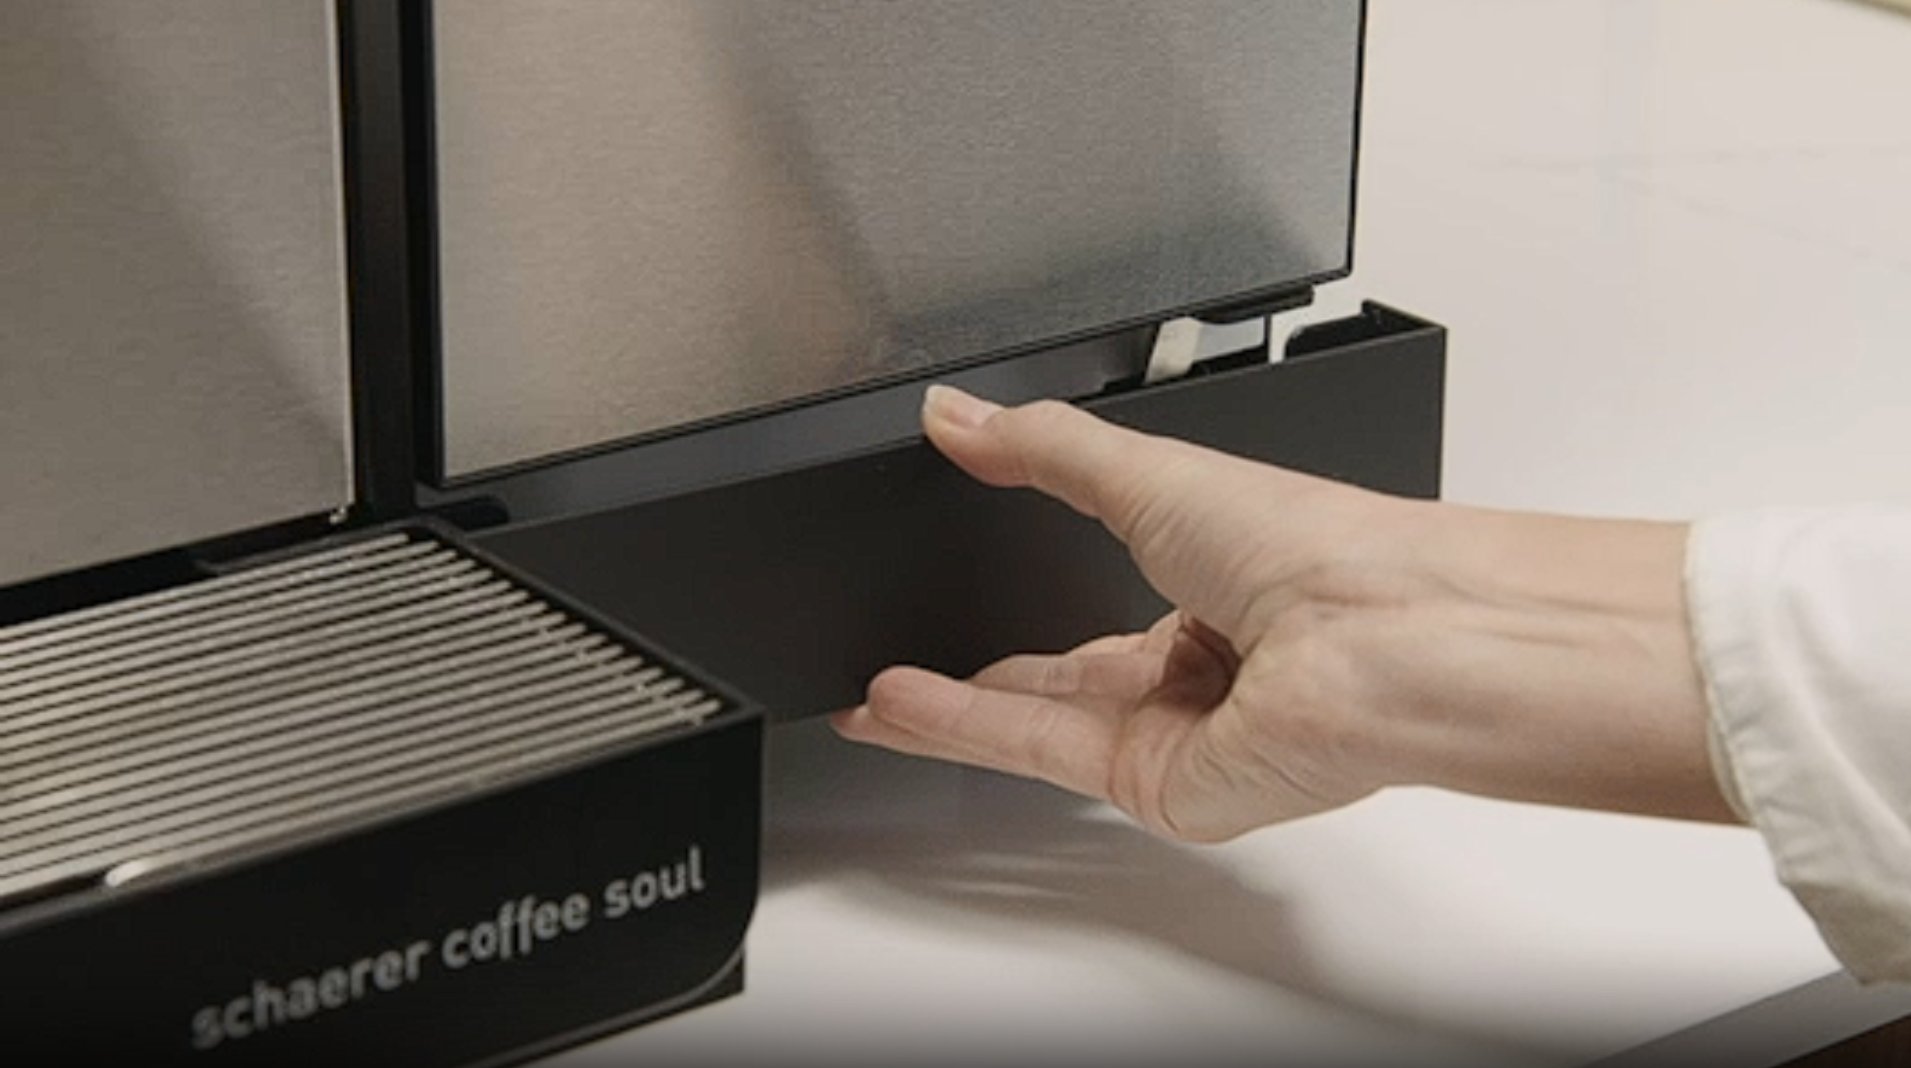
Remove the drip tray located under the refrigerator and empty it into the sink. Clean it with clean water and a brush.Place the refrigerator drip tray back.
Image
Image Instruction
Click to view

Done

The daily cleaning is complete. Time for a nice cup of coffee!
Image